Learning how to install slatwall starts with choosing the right panels, fasteners, and wall location. A careful layout keeps the grooves level and gives hooks, shelves, and bins reliable support.
This guide covers grooved storage slatwall made from MDF, PVC, or similar materials. Decorative acoustic slat panels require a different installation method, so follow their manufacturer’s instructions.
Tools and materials for slatwall installation
Check the panel manufacturer’s requirements before buying fasteners. Panel thickness, material, and expected load determine the correct screw type and spacing.
- Slatwall panels
- Stud finder
- Tape measure and pencil
- Four-foot level or laser level
- Drill and driver bits
- Panel or construction screws
- Circular saw or table saw
- Fine-tooth blade suited to the panel material
- Safety glasses, hearing protection, and dust mask
- Construction adhesive, if approved by the manufacturer
- Jigsaw or hole saw for outlet openings
- Trim pieces for exposed edges
Ask someone to help with full-size sheets. A 4-by-8-foot panel can be heavy and difficult to align safely.
How to install slatwall step by step
1. Inspect and prepare the wall
Remove shelves, nails, base trim, and other obstructions. Then repair raised drywall seams or damaged sections that could stop the panels from sitting flat.
Use a stud finder to locate each wall stud. Mark the stud centers above and below the planned panel area so you can see them during installation.
Also check for outlets, switches, plumbing, and electrical wiring. Turn off power at the breaker before working near electrical boxes.
2. Acclimate the panels
MDF and wood-based panels can expand or contract as room conditions change. Store them flat in the installation area for the period specified by the manufacturer, often 24 to 72 hours.
Keep the room near its normal temperature and humidity during acclimation. Do not install swollen, damp, cracked, or visibly warped panels.
3. Plan the panel layout
Measure the wall’s width and height in several places. Walls and floors often vary, even when they appear square.
Plan the layout to reduce narrow cuts at corners. If possible, position vertical panel joints over studs for stronger fastening.
Decide where the bottom row will start. Leave any expansion clearance required by the panel maker at floors, ceilings, corners, and adjoining panels.
4. Mark a level starting line
Do not use the floor as your only reference because it may slope. Mark a level line for the top or bottom edge of the first panel.
Take time with this step.
An uneven first sheet will throw off every panel that follows. Recheck the line from both ends of the wall before drilling.
5. Cut the first panel
Measure twice and mark the finished face carefully. Support the entire sheet on sawhorses or a stable cutting surface.
Use a sharp, fine-tooth blade to reduce chipping. Follow the panel maker’s cutting guidance because PVC, MDF, and laminated finishes respond differently to saw direction.
Wear eye, hearing, and respiratory protection. MDF dust is fine and spreads quickly, so connect dust extraction when possible.
6. Cut openings for outlets and switches
Measure each electrical box from fixed reference points, such as the floor and adjacent wall. Transfer those measurements to the panel and confirm them before cutting.
Cut the opening with a jigsaw or hole saw. Keep the opening small enough for the cover plate to conceal, but do not trap the electrical box behind the panel.
Electrical boxes may need approved extenders so their front edges meet the finished wall surface. Consult a licensed electrician if you are unsure about local code requirements.
7. Position and fasten the first panel
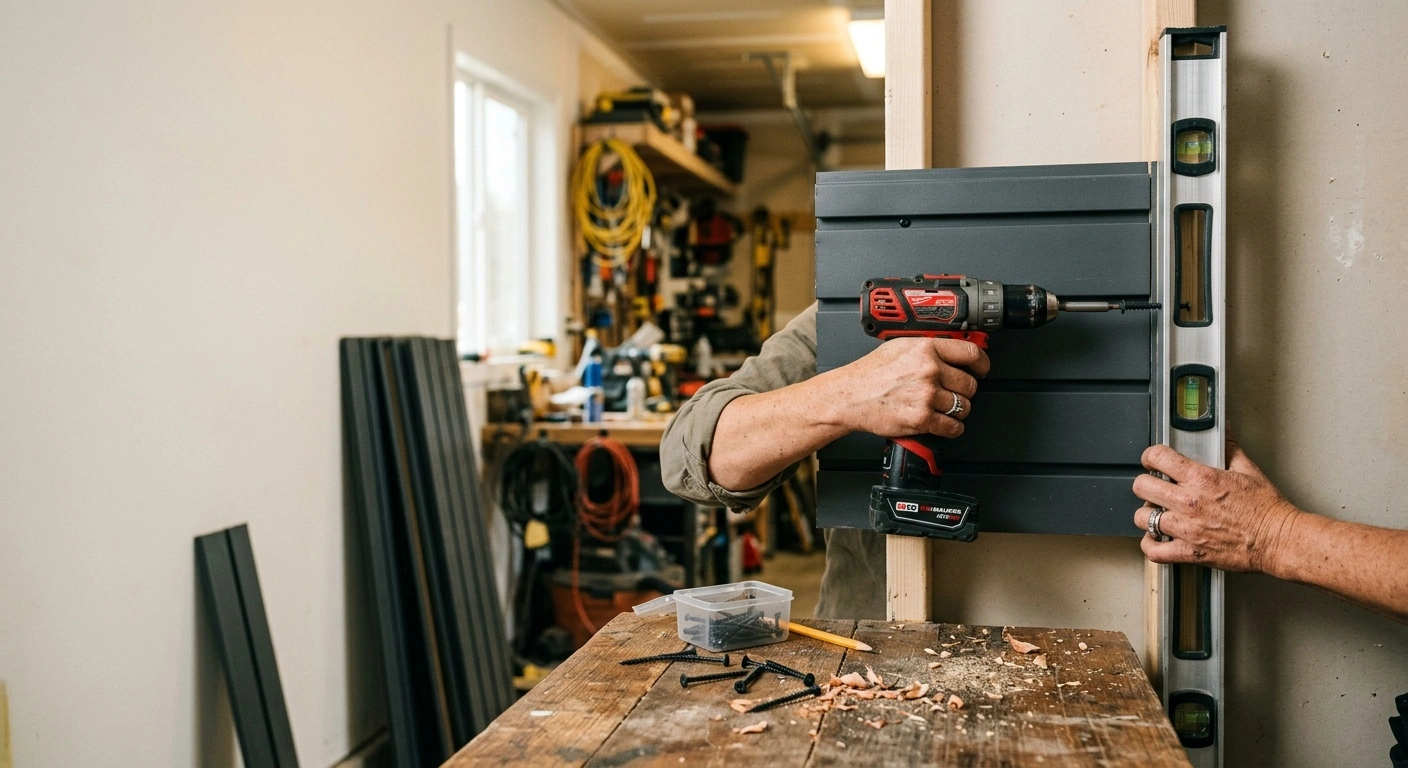
Place the first panel against the wall and align it with the level reference line. Check the grooves with a level before installing any fasteners.
Drive screws through the panel and into the wall studs. Use the fastening locations and screw spacing listed by the manufacturer.
Keep screw heads flush without crushing the groove or face. Overdriving can weaken MDF and create low spots that interfere with accessories.
Some systems allow construction adhesive in addition to screws. Use only an adhesive approved for both the panel and the wall surface, and never treat adhesive as a substitute for required mechanical fasteners.
8. Install the remaining panels
Fit the next panel while maintaining the specified expansion gap. Align the grooves across the joint before fastening the sheet.
Check level after every panel. Small alignment errors become more noticeable as you move across the wall.
The basic process for how to install slatwall stays consistent: align each sheet, fasten it into solid framing, and verify the grooves before continuing. Cut the final sheet to width while preserving the required corner clearance.
9. Add trim and reinstall electrical covers
Install edge, corner, or joint trim designed for your slatwall system. Trim covers cut edges and gives the installation a finished boundary.
Reinstall outlet and switch covers after fitting any required box extenders. Restore power only after you secure all electrical components.
Installing slatwall over different wall surfaces
Drywall over wood studs
Fasten through the drywall and into the studs. Drywall anchors alone rarely provide enough support for a loaded storage wall.
Choose screws long enough to pass through the panel and drywall while achieving the manufacturer’s required penetration into framing. Avoid screws that could reach concealed pipes or wiring.
Concrete or masonry
Masonry installations often require furring strips or a compatible framing system. Fasten the strips to the wall with rated masonry anchors, then attach the slatwall to the strips.
This method creates a flat mounting plane and space for proper fastening. Confirm anchor spacing and load capacity before hanging heavy items.
Uneven or damaged walls
Use furring strips to correct shallow dips and irregular surfaces. Shim the strips until they form a flat, plumb plane.
Do not force rigid panels against a badly uneven wall. The stress can bow the sheets, open the joints, or distort the grooves.
Common installation mistakes
- Starting without a level line: A sloped floor can make the full installation crooked.
- Missing the studs: Screws need solid framing or another approved structural mounting surface.
- Ignoring expansion gaps: Wood-based panels need room to respond to humidity changes.
- Overdriving screws: Excess pressure can crush MDF and damage accessory channels.
- Using unapproved adhesive: Some products can attack PVC or fail on laminated surfaces.
- Skipping frequent checks: Verify groove alignment and level before securing each sheet.
- Exceeding load ratings: The panel, fasteners, accessories, and wall structure each have limits.
Using slatwall safely
Let adhesive cure for the full period listed on its label before loading the wall. Then use hooks, brackets, and shelves that match the panel system.
Place heavy items near studs or other reinforced fastening points when the manufacturer recommends it. Spread loads across several grooves instead of concentrating all the weight in one area.
Inspect the panels and accessories periodically. Tighten loose hardware and replace cracked hooks, damaged grooves, or bent brackets before using them again.
A level layout creates a reliable storage wall
Now that you know how to install slatwall, focus on accurate measurements and secure fastening rather than speed. A level first panel and consistent stud attachment make the rest of the job easier.
Always follow the panel manufacturer’s instructions and stated load limits. Product-specific guidance should take priority over general installation advice.