Dream home remodeling works best when it fixes the frustrations you notice every day. Common problems include poor storage, cramped work areas, dark rooms, awkward traffic paths, and hard-to-clean finishes. Instead of copying a showroom, shape the house around how you cook, clean, work, gather, and relax.
First, separate cosmetic wishes from layout problems and building-system needs. Paint and hardware can refresh a sound room. A poor floor plan, failing plumbing, or undersized electrical service requires deeper work. Evaluate structural changes, new wiring, gas lines, and major plumbing before demolition begins.
Plan Dream Home Remodeling Around Daily Life
Before choosing tile or cabinet colors, record what does not work in the house. Note where bags pile up, doors collide, and countertop space disappears. Watch for family members crossing through active cooking, cleaning, or work zones. These observations create a useful plan grounded in your actual floor plan.
Measure every room, including its ceiling height, openings, appliance clearances, and cabinet depths. Mark plumbing fixtures, HVAC registers, electrical panels, and visible structural posts. Moving these elements can add substantial labor and cost.
Ask your local building department which permits the project requires. Rules vary by location and scope. Also reserve time and money for damaged subfloors, old wiring, hidden leaks, and other concealed problems.
- List daily problems: Include poor lighting, limited storage, tight clearances, drafts, noise, and difficult surfaces.
- Choose a primary goal: Focus on function, space, maintenance, accessibility, or connections between rooms.
- Separate repairs from upgrades: Fix leaks and unsafe wiring before buying decorative finishes.
- Check the whole-house impact: Confirm that the structure, electrical service, plumbing, and HVAC can support the work.
- Plan for disruption: Decide how you will cook, bathe, store furniture, and contain dust during construction.
DIY Weekend Ideas With a Noticeable Payoff
Create a Consistent Color and Trim Plan
A coordinated paint and trim plan can connect rooms without changing the floor plan. This approach helps when several spaces remain visible from the same doorway. Repeated wall colors, trim profiles, and wood tones give the interior a clear visual path.
Use a restrained base palette instead of choosing a different accent color for every room. Add variety through furniture, tile, rugs, and other textiles.
Effort level: DIY weekend. Preparation often takes longer than painting. Fill dents, sand repairs, clean greasy surfaces, and caulk open trim joints first. Test large samples on several walls, then check them in morning and evening light.
Homes built before 1978 may contain lead paint. Older finishes and compounds may also contain asbestos. Test suspect materials before sanding, scraping, cutting, or demolition, and follow lead-safe work practices.
Add Built-In Storage Without Moving Walls
Shallow built-ins can turn overlooked wall space into useful storage. Consider the sides of a fireplace, a hallway end, a dining wall, or a wide landing. Closed lower cabinets conceal bulky items, while open upper shelves keep frequently used objects within reach.
Effort level: DIY weekend for modular cabinets or simple plywood boxes. Detailed finish carpentry may take longer. Locate the studs, fasten each unit to framing, and use shims to keep doors and cabinets aligned.
Secure tall cabinets to prevent tipping, and use two people to lift upper cabinets. Do not cover HVAC returns, electrical panels, plumbing access points, or required walkways.
Upgrade Doors, Hardware, and Touch Points
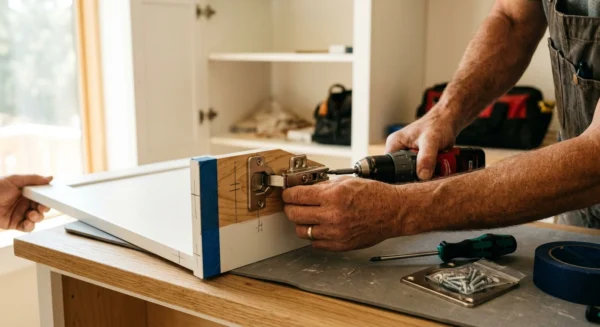
Interior doors, faucets, cabinet pulls, switch plates, and door hardware influence how a home feels in daily use. Replacing worn hinges and mismatched knobs can improve appearance and operation. Solid and solid-core doors may also reduce sound transfer between living areas, offices, and bedrooms.
Effort level: DIY weekend when new parts match the existing holes and backsets. Measure before ordering and keep hinge positions consistent. Adjust each strike plate so the latch engages without force.
Before replacing a faucet, shut off the water and relieve the pressure. Check every connection for leaks after restoring service. Heavy doors require a helper, while out-of-square openings may need jamb repairs instead of a simple slab replacement.
Turn an Empty Wall Into a Work or Study Zone
A compact desk wall can create a home office without sacrificing a bedroom. Combine a work surface with file drawers, shelves, and task lighting. Choose a quiet alcove or room edge outside the main traffic path.
Effort level: DIY weekend for freestanding or wall-mounted parts that need no new wiring. Fasten shelves and support brackets to studs or properly rated anchors. Check that the worktop sits level before loading it.
Before touching wiring, switch off the circuit at the breaker. Confirm that it is dead with a non-contact voltage tester. New outlets and circuits often require a permit and licensed electrician, so check local rules first.
DIY Projects That Benefit From Trade Help
Build a Better Kitchen Work Zone
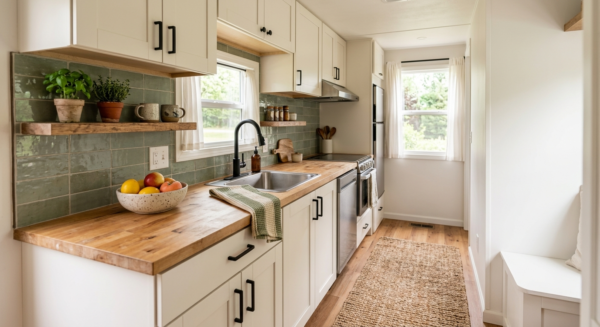
A useful kitchen does not need a large footprint. It needs clear zones for food storage, preparation, cooking, cleanup, and serving. Start with the busiest area and remove the conflicts you encounter each day.
Add drawer storage beside the range, place trash near the prep surface, or assign small appliances to one cabinet. Wide drawers often work better than deep lower shelves because their contents stay visible and reachable.
Effort level: DIY with trade help. A capable homeowner can handle painting, shelving, hardware, demolition, and some cabinet installation. Licensed trades should complete new circuits, major plumbing changes, and gas work.
Shut off the water and relieve pressure before opening a plumbing line. Afterward, restore service and inspect every connection. For electrical work, turn off the breaker and verify the circuit with a non-contact voltage tester.
New wiring commonly requires a permit and may require a licensed electrician. Hire a licensed professional for gas connections and appliance venting. Errors can cause fires, explosions, or carbon monoxide exposure.
Replace an Oversized Island
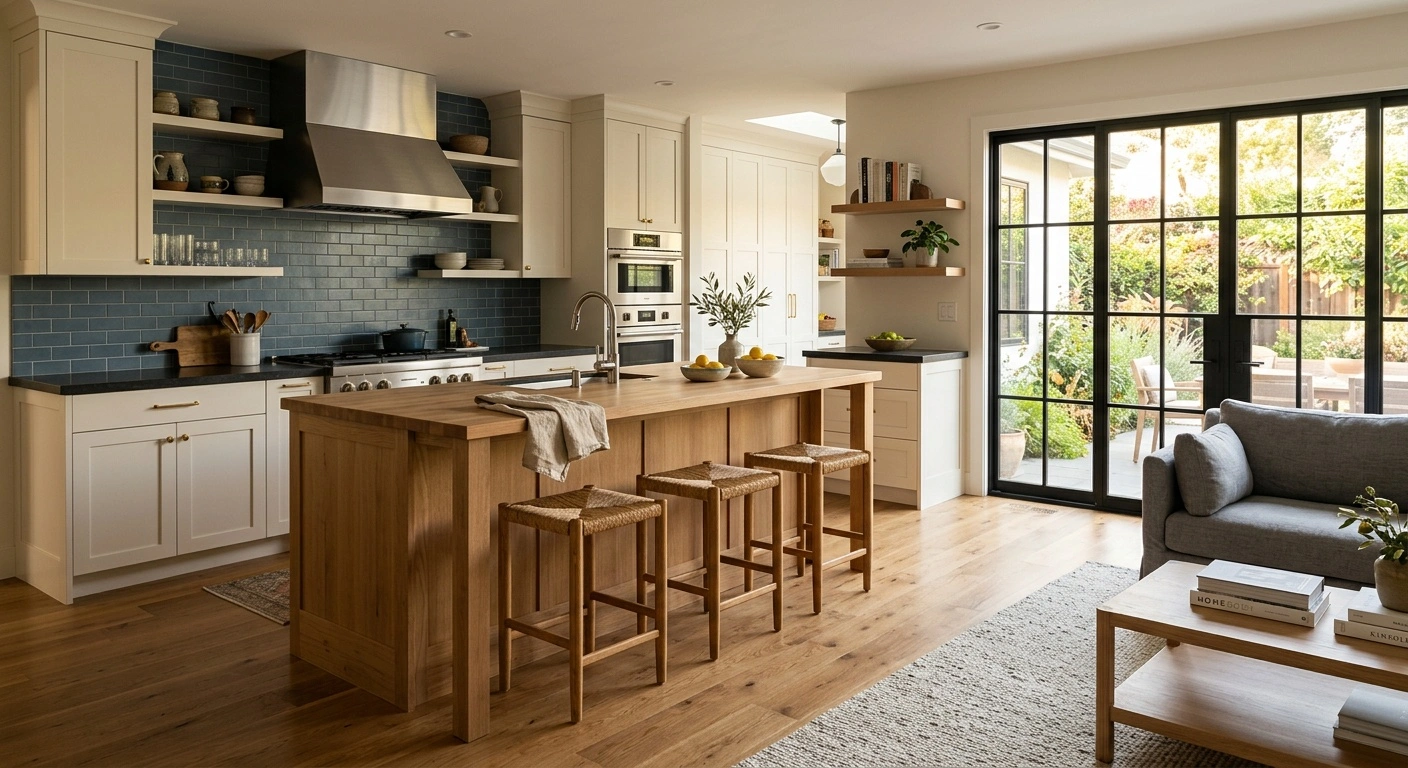
A large island can create narrow passages and block appliance doors. A properly scaled model adds prep space, storage, or seating without restricting movement. In a small kitchen, a narrow worktable or mobile cart may function better.
Effort level: DIY with trade help when the island includes power, plumbing, or a heavy countertop. Mark the proposed footprint with painter’s tape and cardboard boxes. Then open every appliance and walk through the space before approving the size.
Island outlets must follow locally adopted electrical requirements, which can change. Review the design with your building department and electrician. Stone countertops and large cabinet assemblies also require several people for safe delivery and installation.
Create a Low-Maintenance Bathroom Retreat
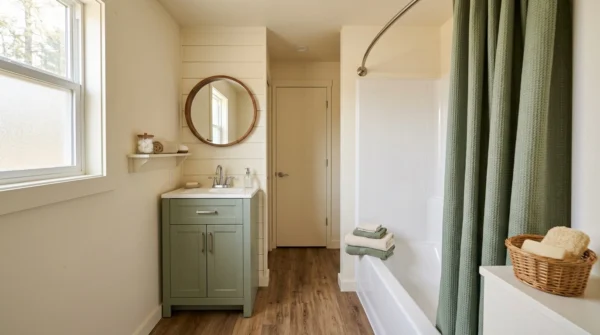
A practical bathroom remodel starts with water control, ventilation, storage, and safe footing. Large-format tile can reduce grout lines, while a recessed medicine cabinet saves space. A handheld shower and reachable controls can improve everyday access.
Consider blocking for future grab bars during construction. A curbless or low-threshold shower may also make the room easier to use as mobility needs change.
Effort level: DIY with trade help. Painting, accessories, and some vanity work suit experienced homeowners. Shower waterproofing, drain changes, ventilation ducts, and concealed plumbing leave little room for error.
Shut off the water and relieve pressure before opening a line. Test every connection before covering the plumbing. Remember that tile does not provide the waterproof layer. Install a complete, compatible waterproofing system behind or beneath the finished surface.
Create a Mudroom at the Main Entry
You do not need a separate room to create a useful mudroom. An entry wall can hold hooks, a bench, shoe storage, and a durable landing surface. Giving each item a place keeps coats, bags, and dirty shoes out of adjoining rooms.
A tall cabinet can conceal sports gear and cleaning supplies. Open hooks remain easier for children and guests to use.
Effort level: DIY with trade help if the project includes new flooring, heating, or electrical work. Choose moisture-resistant materials near the exterior door. Preserve enough clearance for the door to open fully.
Fasten benches and tall storage units to wall framing. This matters where people may pull on them for balance. If the floor stays wet, correct the moisture source before adding cabinets or finishes.
Make the Laundry Area Easier to Use
A folding counter, hanging rail, utility sink, and shallow cabinet can improve a basic laundry alcove. Side-by-side machines can support a counter above them. Stacked appliances may free wall and floor space for storage.
Add task lighting and dedicated hamper space to contain sorting. Keep appliance controls and shutoff valves accessible.
Effort level: DIY with trade help. Cabinetry and counters may suit a skilled homeowner. Hire the appropriate trade for changes to drains, water lines, dryer circuits, or gas connections.
Shut off the water and relieve pressure before opening a supply line. Replace aging washer hoses when you see cracks, bulges, corrosion, or other damage. Vent the dryer outdoors through an approved duct, never into an attic, wall cavity, or crawlspace.
A licensed professional should connect and vent a gas dryer. Gas leaks and poor combustion venting can create fire and carbon monoxide hazards.
Contractor-Level Remodeling Ideas
Open Selected Sightlines Instead of Every Wall
A fully open floor plan does not suit every dark or divided house. Widening one doorway or adding a partial opening may improve light and circulation. An interior window can achieve a similar result while preserving storage, sound control, and separate activity zones.
Effort level: Contractor job. Never cut or remove a wall until a qualified contractor or structural engineer identifies its role. If it carries a load, the project requires designed support.
Walls can also contain wiring, plumbing, and HVAC ducts. Licensed trades may need to reroute these systems under applicable permits. Demolition may happen quickly, but temporary supports, engineered beams, inspections, and finish repairs determine the real scope.
Add a Kitchen Bump-Out
A compact bump-out can provide room for a dining nook, longer cabinet run, or wider aisle. It works well when the kitchen needs only a few extra feet along an accessible exterior wall. The smaller footprint may limit roofing, foundation, and mechanical work, but this remains a major project.
Effort level: Contractor job. The design must address foundation support, structural loads, roof drainage, insulation, windows, and exterior cladding. Arrange a structural review before opening an exterior wall. Confirm permit requirements with the local building department.
Even a small addition can expose poor drainage, deteriorated sheathing, or inadequate support. These discoveries can increase the schedule and budget.
Create a First-Floor Bedroom and Full Bathroom
A first-floor bedroom can support recovery after an injury, multigenerational living, and changing mobility needs. Give the room a direct route to a bathroom, adequate privacy, and accessible storage. A rarely used formal room may offer a better solution than an addition.
Effort level: Contractor job when the work changes walls, plumbing, windows, or the room’s legal use. The designer should review local rules for ceiling height, ventilation, natural light, and emergency escape. Confirm that officials will recognize the finished space as a legal bedroom.
Connect new bathroom fixtures to a properly designed drain and vent system. Avoid routing pipes based only on convenience. Fixtures placed far from the main stack may require extensive floor and wall demolition.
Bring In Daylight With Better-Placed Windows
Window placement often affects a room more than window size. A high window can protect privacy, while windows on two walls spread light more evenly. Interior transoms and glazed doors can borrow light without fully exposing an adjoining room.
Effort level: Contractor job for new or enlarged exterior openings. Cutting the wall affects framing, insulation, flashing, weather barriers, siding, and interior finishes. The project needs a complete wall-system plan.
Ask a contractor or engineer to confirm the load path and header requirements before altering the opening. In pre-1978 homes, painted trim may contain lead. Older siding and sealants may contain asbestos, so test suspect materials before cutting them.
Connect Indoor Living to a Patio or Garden
A wider exterior door and level threshold can strengthen the connection between indoor and outdoor rooms. Similar flooring colors can reinforce that visual link. Place the patio near a kitchen or living room, and provide shade, drainage, and a practical use.
A simple dining area near the kitchen often works better than an elaborate setup far across the yard.
Effort level: Contractor job when the plan enlarges an opening or adds a roof. Exterior wall changes require structural review. Decks, covered patios, and large door systems may also need plans, footings, permits, and inspections.
Design the threshold, flashing, and surrounding grade to direct rain away from the wall and interior floor. Call 811 several business days before digging for footings, posts, drains, or utility trenches.
Complete Whole-House Work Before Adding Finishes
Improve the Building Envelope
New cabinets and floors offer little comfort in rooms that remain drafty, damp, or difficult to heat. Start with air sealing, appropriate insulation, repaired flashing, and weather-resistant windows. An energy assessment can locate leaks and insulation gaps instead of relying on guesswork.
Effort level: DIY with trade help or contractor job, depending on access and existing materials. Most homeowners can replace basic weatherstripping. Attic air sealing, major insulation work, and window replacement require more planning.
Keep required attic, combustion, and appliance ventilation open. Do not bury unsafe wiring beneath insulation. Test vermiculite, resilient flooring, pipe insulation, and other suspect older materials for asbestos before disturbing them.
Plan Lighting in Layers
A comfortable room uses ambient, task, and accent lighting. Ambient fixtures provide general light, while task fixtures serve counters, desks, and reading areas. Accent lighting can define shelves, artwork, or architectural details without adding glare.
Place switches near the room’s natural entrances. Use separate controls so one switch does not operate every fixture.
Effort level: DIY with trade help. Plug-in lamps and some listed low-voltage systems offer simple upgrades. Recessed lights, hardwired switches, and new circuits require a proper electrical plan.
Turn off the circuit at the breaker before touching wiring. Confirm that the circuit is dead with a non-contact voltage tester. New wiring usually requires a permit and may require a licensed electrician.
Mount ceiling fans only to fan-rated electrical boxes. If breakers trip repeatedly, ask an electrician to diagnose the circuit. Never bypass a breaker or replace it with a higher-rated model without an approved system evaluation.
Coordinate Remodeling With the Mechanical System
Additions, larger windows, and open floor plans can change heating and cooling loads. Before closing walls, ask an HVAC professional to review the revised layout. The existing equipment and ductwork may not serve the new arrangement properly.
Improved return-air paths, balanced airflow, or well-designed zoning may solve comfort problems. Simply installing larger equipment can create new efficiency and humidity issues.
Effort level: Contractor job. Licensed professionals should install furnaces, connect gas lines, and complete combustion venting. Poor gas or vent work can cause fires, explosions, and carbon monoxide exposure.
Homeowners can document hot and cold rooms, clear equipment access, and help choose thermostat locations. Qualified trades should select and connect the final equipment.
Avoid Remodeling Choices That Create New Problems
Do not remove useful storage just to make a room look larger in photographs. Open shelves suit frequently handled items. Closed cabinets still conceal food, cleaning products, small appliances, and everyday clutter.
Choose finishes that match the room’s workload. Delicate materials can demand constant care in kitchens, busy entries, and homes with pets.
Question layout changes that move plumbing or appliances without improving function. Relocating a sink by a few feet may require new vents, opened floors, and repairs in nearby rooms. That cost should produce a clear benefit.
Never order cabinets, doors, windows, or countertops from rough measurements. Final dimensions must account for finished walls, appliance specifications, clearances, and out-of-square conditions.
Do not begin demolition before coordinating the design, permits, materials, and trades. Long lead times and inspection delays can leave an essential room unusable. Arrange another bathroom before removing the only toilet or shower in the house.
For a kitchen remodel, create a temporary food-preparation area away from construction dust. Provide safe electrical capacity, access to water, and a washable work surface.
Build a Home That Works Every Day
A strong dream home remodeling plan pairs one or two important layout changes with practical maintenance upgrades. First, make the house dry, structurally sound, safely wired, and properly ventilated. Then choose finishes that fit each room’s daily use.
A modest kitchen with clear aisles can outperform a larger room with blocked work zones. Likewise, a well-planned bathroom can feel more comfortable without gaining square footage.
Handle simple cosmetic work yourself when careful preparation controls the result. Bring in qualified trades when errors could remain hidden inside walls or threaten safety. Confirm structural assumptions, local permit rules, and material hazards before demolition.
That sequence keeps the project focused on daily function instead of a picture-perfect reveal. The finished home should make routine cooking, cleaning, working, and relaxing easier.