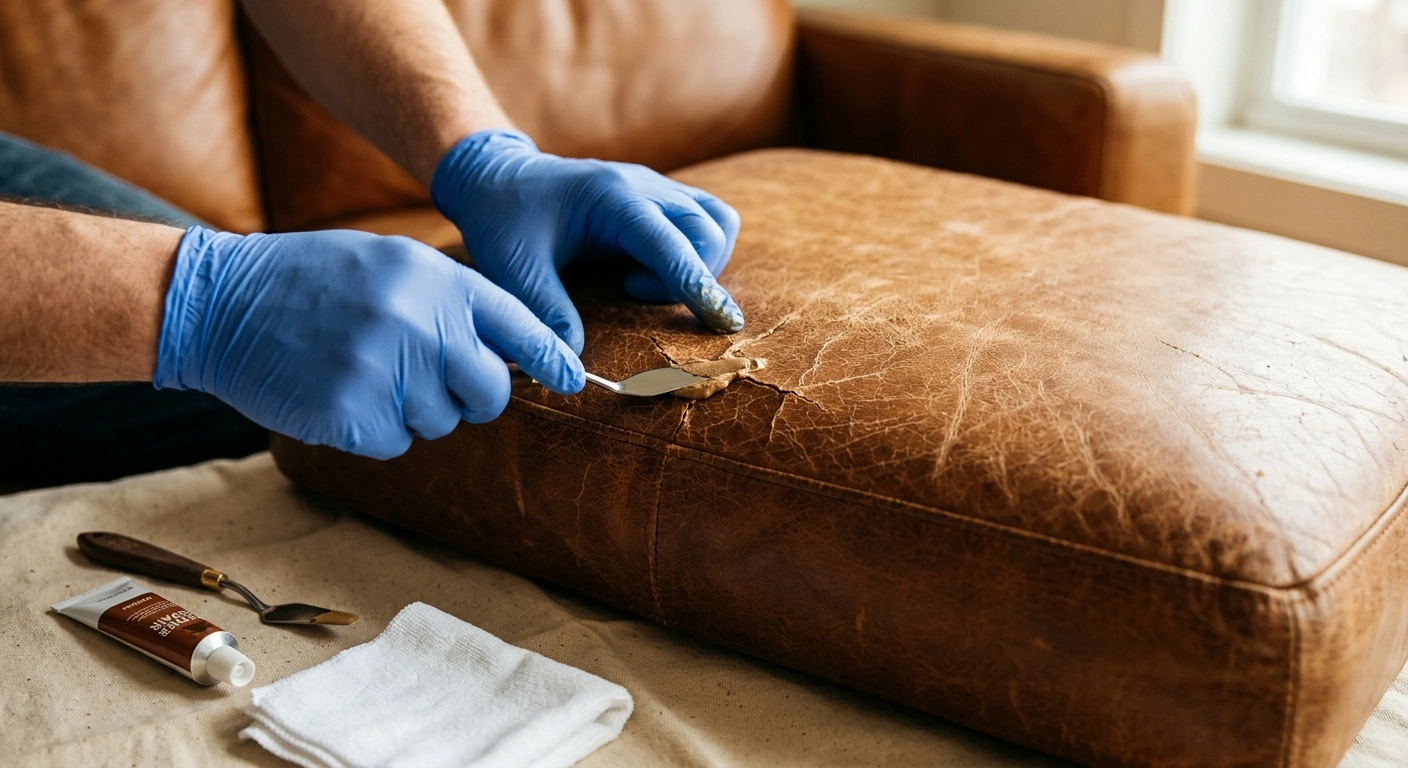
Learning how to fix leather couch damage starts with identifying the material and the type of damage. Fine surface cracks and small tears often respond well to DIY repair. Widespread peeling, failed seams, and torn structural panels usually require professional upholstery work or replacement.
Most repairs fail because the product does not suit the upholstery or the surface still contains dirt and oil. Even a sound repair may remain slightly visible, especially on aniline leather or a heavily grained finish. Still, it should stop the damage from spreading and improve the couch’s appearance.
Work slowly and test every cleaner, adhesive, and colorant in a hidden area. Let each coat dry for the time listed in the product directions. Ask an upholsterer for advice before repairing valuable, antique, or unfinished leather.
Diagnose the Damage Before Repairing It
Leather-look couches do not all use the same upholstery. Genuine leather, bonded leather, vinyl, and polyurethane faux leather have different surface layers. As a result, they react differently to cleaners, adhesives, fillers, and colorants.
Check the manufacturer’s tag, purchase paperwork, or a fabric sample attached beneath the couch. You can also inspect an unfinished seam or the area below a removable cushion. Genuine leather usually has an irregular, fibrous underside. Many synthetic materials have woven fabric backing beneath a thin colored coating.
Do not cut or peel the upholstery to identify it. That will only create more damage.
Dryness, finish wear, or actual cracking
Shallow lines along cushion creases may be normal wrinkles rather than cracks. Flex the area gently under good light. A true crack opens and reveals a lighter layer or rough fibers below the colored finish.
If only the color has worn away, the couch may need cleaning and recoloring rather than filler. Fine cracks across several cushions often result from age, body oils, sunlight, or harsh household cleaners. Dry leather may benefit from an approved conditioner, but conditioner cannot reconnect split fibers.
Use a flexible repair compound for deeper surface cracks. If the leather feels weak or tears under light pressure, ask an upholsterer to replace the panel.
Clean cuts, punctures, and open tears
A clean cut has defined edges that you can often align without overlap. An open tear has separated edges and may expose foam, batting, or backing fabric. Check whether the surrounding material remains flexible and strong enough to hold adhesive.
Stop if light finger pressure makes the edges crumble or enlarges the tear. A patch will not last on disintegrating upholstery. Damage on a lightly used back cushion usually presents fewer problems than damage near a seam or seat edge.
A missing piece of upholstery requires extra filling, coloring, and texture work. In that case, a professional repair may produce a better result.
Peeling bonded leather or faux leather
Flakes, bubbles, or sheets of coating lifting from a fabric base usually indicate bonded leather or synthetic upholstery. This damage differs from a crack in intact genuine leather. A repair compound may cover one small bare spot, but it cannot stabilize a coating that continues to fail.
Inspect nearby cushions, armrests, and piping for blisters or loose flakes before buying a kit. An upholsterer may recover one removable cushion or replace its damaged panel. Widespread peeling usually calls for full reupholstery or couch replacement.
Do not spread filler over large peeling areas. The unstable coating underneath will continue to separate.
Tools and Materials for Leather Couch Repair
Choose a kit labeled for your exact upholstery type. A useful kit contains flexible repair compound, compatible colorant, an applicator, and a protective topcoat. For an open tear, you will also need a thin backing patch and flexible upholstery adhesive.
Gather your supplies before cleaning the damage. Wear disposable gloves and ventilate the room while using cleaners, adhesives, or colorants. Keep children and pets away until the products cure and all odors disappear.
- Vacuum with a soft brush attachment
- Clean, lint-free white cloths
- Cleaner approved for the upholstery material
- Flexible leather or vinyl repair compound
- Flexible upholstery adhesive compatible with the material
- Thin backing fabric or leather patch for an open tear
- Small scissors for rounding patch corners
- Tweezers or a blunt tool for positioning the backing patch
- Small palette knife, plastic spreader, or kit applicator
- Fine abrasive pad or fine-grit sandpaper, if the product requires it
- Matching leather colorant or repair pigment
- Compatible clear protective finish
- Approved conditioner for finished genuine leather
- Disposable gloves and a dust mask for light sanding
Before You Start the Repair
Move the couch out of direct sunlight and ventilate the room. Work within the temperature range listed in the product instructions. Then vacuum dirt from seams and damaged fibers without pulling the torn edges.
Test the cleaner, colorant, and topcoat under a cushion or on the rear skirt. Let each test dry completely before judging it. Wet pigment often looks different after curing, and some finishes change sheen as they dry.
Protect nearby fabric, wood trim, and flooring with a drop cloth. Repair pigment can leave permanent stains. If the cushion cover has a zipper, confirm that you can remove and reinstall it without straining the seams.
Do not use acetone, paint thinner, bleach, shoe polish, or general-purpose spray cleaner without specific approval. Rubbing alcohol can also strip some factory finishes. These products may harden leather or leave residue that blocks adhesion.
Avoid household super glue because it cures rigid. The hard edge can tear again when the cushion flexes. Do not apply heat unless the repair system includes a controlled heating method.
Excessive heat can shrink leather, melt synthetic coatings, or damage the foam. If the couch care label conflicts with a generic kit, follow the couch manufacturer’s directions.
How to Fix Leather Couch Cracks and Surface Damage
-
Clean the cracked area. Put the approved cleaner on a cloth instead of pouring it onto the couch. Wipe beyond the damage so you do not push oil into the crack. Continue until the cloth stops lifting grime, then let the surface dry.
-
Trim only loose fibers or flakes. Use small scissors to remove material that has fully detached. Do not cut attached leather or enlarge the crack. Stop when the remaining edges lie flat and feel secure.
-
Condition fine, unbroken dryness when appropriate. Apply an approved conditioner only to finished genuine leather with intact fibers. Use a small amount and follow the stated absorption time. Skip this step if the filler requires a dry, oil-free surface.
-
Apply flexible compound to open cracks. Press a thin coat into each crack with a small applicator. Scrape excess compound from the surrounding grain. The filled area should sit flat without a raised ridge.
-
Build deep cracks with thin coats. Let each layer cure for the stated time before adding more. Continue until the repair sits level with the surrounding surface. It should not sink when you touch it lightly.
-
Smooth the cured compound. Sand only if the product instructions recommend it. Use a fine abrasive, light pressure, and a dust mask. Stop as soon as the repair feels even under your fingertip.
-
Apply matching color in light layers. Dab or feather the colorant beyond the filled area. Avoid painting a heavy-edged spot. Check the cured color in daylight and normal room lighting.
-
Seal the repair. Apply a compatible topcoat that matches the couch’s matte, satin, or glossy sheen. Let it cure fully. The finish should feel dry and should not transfer color to a clean white cloth.
How to Fix Leather Couch Tears
-
Inspect the inner layers. Lift the tear edges gently and remove loose debris. Do not pull attached batting through the opening. Proceed only if the foam and inner material feel dry and stable.
-
Cut a rounded backing patch. Size the patch so it extends beyond every edge of the tear. Round the corners to reduce catching and folding. The patch must fit through the opening and lie flat underneath it.
-
Position the patch. Slide it through the tear with tweezers or a blunt tool. Center it without puncturing the foam. Check that the patch extends beyond all sides and does not bunch.
-
Glue the upholstery to the backing. Apply a controlled amount of flexible adhesive beneath the tear edges. Keep glue away from the visible grain. Align the edges on the patch without folding or overlapping them.
-
Hold the edges in place. Use the method recommended by the adhesive manufacturer. Make sure tape, clamps, or weights do not mark the finish. Wait until the edges resist very gentle lifting.
-
Fill the remaining gap. Spread a thin layer of flexible compound across the narrow seam. Feather it onto the surrounding surface. After curing, the repair should feel level and flexible rather than stiff.
-
Re-create the texture if the kit supports it. Use the supplied grain pad or texture tool as directed. Press lightly so compound does not squeeze from the seam. Aim to soften the smooth repair line without creating an incorrect grain pattern.
-
Color and seal the tear. Build the color with light coats and extend it slightly past the repair. Finish with a compatible protective coating. After curing, move the cushion gently and check that the edges remain closed.
Common Leather Couch Repair Mistakes
A thick layer of compound may look faster, but it often shrinks, cracks, or stays soft underneath. Build the repair with several thin layers instead. Give each one enough time to cure.
Do not judge color while it remains wet. Wait for the test patch to dry, then check it under more than one light source. Heavy pigment can create an obvious patch with the wrong color or sheen.
Over-sanding can strip the factory pigment and turn a small repair into a large refinishing job. Adhesive on the visible surface may also leave a shiny area that rejects colorant. Apply both products with control.
Do not use the couch before the repair cures fully. Early movement can pull the edges apart even when the surface feels dry. Conditioner cannot fill cracks, and filler cannot support weak or crumbling upholstery.
Troubleshooting a Leather Couch Repair
-
Problem: The filler peels away. Oil, silicone cleaner, conditioner, or loose finish may have blocked adhesion. Remove the failed compound and prepare the area with the approved cleaner. Let it dry before applying new thin coats.
-
Problem: The crack splits again. The filler may be too thick, or the surrounding material may be weak. High-flex areas also place more strain on a repair. If the leather keeps tearing, ask an upholsterer to replace the panel.
-
Problem: The tear edges lift. The backing patch may be too small, folded, or poorly bonded. Open only the loose section and reposition or replace the patch. Let the adhesive cure fully before adding filler.
-
Problem: The color looks too dark or light. Let the pigment cure before changing it. Then adjust the shade with compatible colorant in thin coats. Test the new mixture in a hidden area first.
-
Problem: The repair looks too smooth. Excess compound may have covered the natural grain. Follow the kit directions for light leveling and texturing. Avoid sanding the surrounding factory finish.
-
Problem: The repaired area stays sticky. A heavy coat, incompatible products, or poor room conditions may slow curing. Stop adding material and improve ventilation. If the repair does not cure within the stated time, remove it and start again.
-
Problem: More coating flakes off during cleaning. The bonded leather or faux leather has started delaminating beyond the original spot. Stop rubbing the surface. A small patch will not stabilize the remaining coating, so request an upholstery estimate.
How to Prevent New Cracks and Tears
Vacuum the couch regularly with a soft attachment. Grit can grind into the finish and speed up wear. Clean spills promptly with the method recommended by the manufacturer.
Do not saturate seams or cushion foam. Keep the couch away from strong sunlight, radiators, and heat registers when possible. Concentrated heat can dry genuine leather and weaken synthetic coatings.
Use conditioner only on compatible genuine leather finishes. Follow the schedule provided by the couch or conditioner manufacturer. Applying too much can leave an oily surface and interfere with later repairs.
Rotate removable cushions to distribute wear. Inspect repaired areas for lifting edges, tackiness, color transfer, or fresh cracks. A small touch-up takes less work than rebuilding a failed patch.
When to Call an Upholstery Professional
Contact a professional when the covering can no longer support adhesive and filler. Seam failures need stitching and access to the underside. Glue pressed into a failed seam rarely provides a durable repair.
Large tears may involve damaged batting, foam, springs, webbing, or the cushion deck. An upholsterer can inspect those hidden parts. They can also replace one panel or recommend recovering adjacent panels for a closer match.
Aniline, semi-aniline, antique, and unusually finished leather often requires specialized dyes and refinishing methods. General-purpose kits can create permanent color or texture changes. Professional assessment also makes sense when a visible repair could reduce the couch’s value.
Stop the DIY repair and request an estimate if you find any of these conditions:
- The tear crosses a seam, piping, zipper, or cushion attachment point.
- The upholstery crumbles or continues tearing under light pressure.
- The couch has damaged foam, springs, webbing, or frame parts.
- A large area of bonded leather or synthetic coating has started peeling.
- The damage affects several cushions or high-flex seating panels.
- The couch uses suede, nubuck, unfinished, aniline, or antique leather.
- An old coating or adhesive remains sticky and resists safe removal.
- The couch has enough value that trial-and-error repair could reduce its worth.
- The warranty or care instructions prohibit the planned repair products.