A kitchen remodel checklist keeps your budget, schedule, and design decisions organized before demolition starts. Use this guide to plan the work, avoid costly changes, and keep contractors moving in the right order.
Kitchen Remodel Checklist: Start With the Project Scope
First, decide what the remodel needs to fix. Separate necessary repairs from design preferences, then rank each item by priority.
- List problems with the current layout.
- Identify damaged cabinets, flooring, plumbing, or wiring.
- Note storage shortages and poor work areas.
- Decide which appliances need replacement.
- Choose between a cosmetic update and a full renovation.
- Set a target completion date.
Write down what will stay, too. Keeping usable appliances, cabinet boxes, or plumbing locations can reduce labor and material costs.
Set a Realistic Remodeling Budget
Build the budget before selecting finishes. Cabinets, labor, appliances, and counters usually consume the largest shares, but permit fees and repairs also matter.
Estimate Major Costs
- Cabinets and hardware
- Countertops
- Appliances
- Plumbing and electrical work
- Lighting
- Flooring
- Backsplash materials
- Painting and trim
- Permits and inspections
- Design and contractor fees
Reserve 10 to 20 percent of the budget for unexpected work. Contractors may uncover leaking pipes, damaged subflooring, or outdated wiring after demolition begins.
Track every quote and purchase in one spreadsheet. Include taxes, delivery charges, installation fees, and disposal costs so the total remains accurate.
Measure the Kitchen and Review the Layout
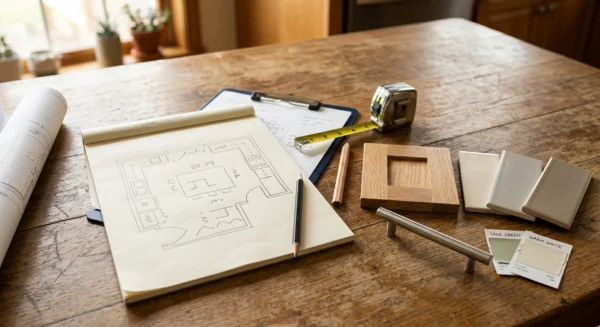
Measure walls, doors, windows, ceiling height, and appliance openings. Record the locations of electrical outlets, water lines, gas lines, drains, and vents.
Next, test the proposed layout against daily routines. The refrigerator, sink, and cooking area should allow direct movement without blocking major walkways.
Check Clearances
- Leave enough room for appliance doors to open fully.
- Keep walkways at least 36 inches wide where space allows.
- Plan wider work aisles for kitchens with more than one cook.
- Confirm that drawers will not collide with doors or handles.
- Provide landing space near the refrigerator, sink, and range.
- Check seating overhangs and stool clearance.
Mark cabinet and appliance dimensions with painter’s tape on the floor and walls. This simple mock-up often exposes tight corners before anyone places an order.
Hire Contractors and Confirm Responsibilities
Ask licensed contractors for itemized estimates based on the same project scope. Compare labor, materials, allowances, cleanup, warranties, and projected timelines.
Check references and recent work that matches your project size. Also verify insurance, license details, and who will supervise the site each day.
Put the Agreement in Writing
- Detailed scope of work
- Material specifications and model numbers
- Payment schedule
- Start date and estimated completion date
- Permit responsibilities
- Cleanup and debris removal
- Change-order process
- Warranty terms
Avoid paying the full project price before work starts. Tie payments to clear milestones, such as cabinet delivery, countertop installation, and final inspection.
Choose Materials Before Demolition
Select cabinets, appliances, counters, flooring, fixtures, and hardware early. Lead times can stretch for weeks or months, especially with custom cabinets and special-order appliances.
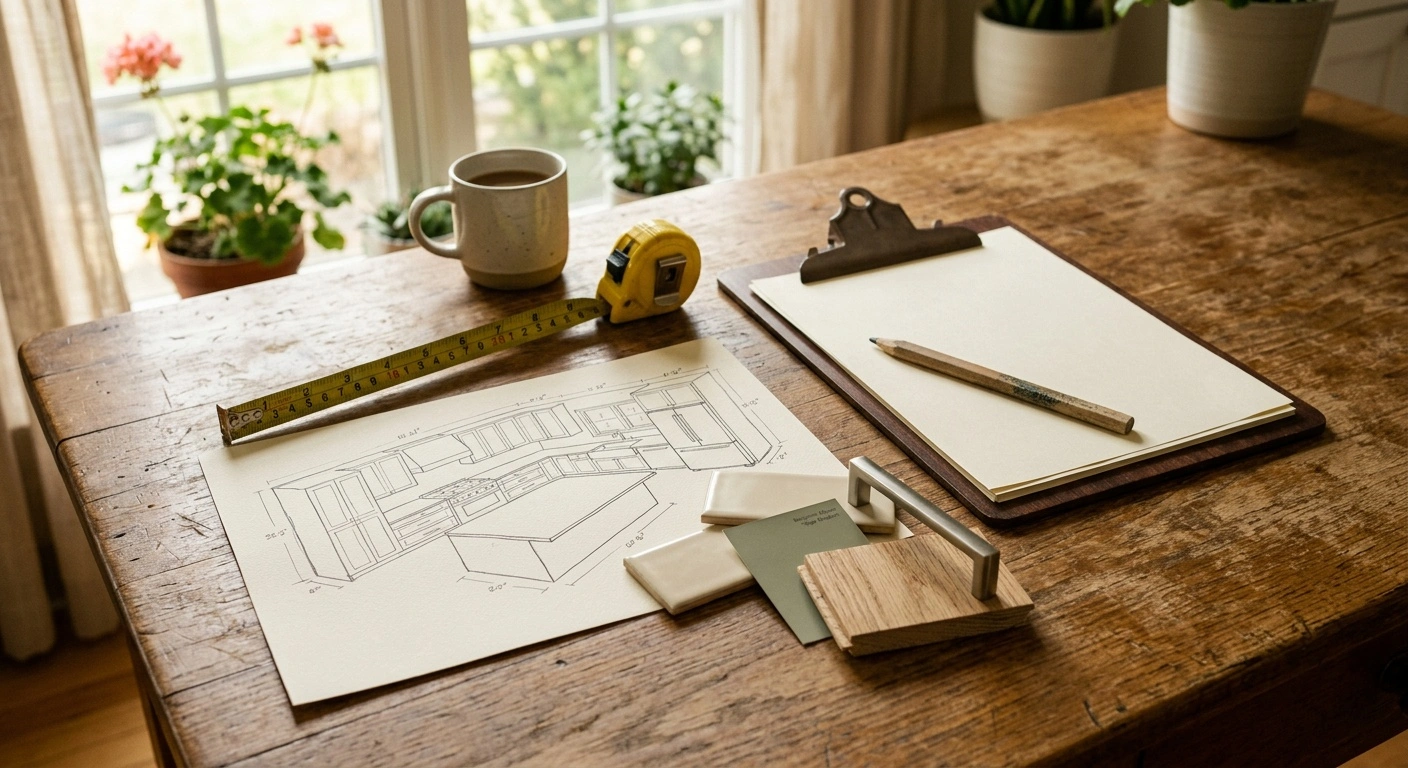
Use this kitchen remodel checklist to record product numbers, dimensions, finishes, prices, and delivery dates. Confirm every measurement before approving an order.
Coordinate Finishes in Person
Compare samples under the kitchen’s actual lighting. Paint, stone, wood, and metal can look different at home than they do in a showroom.
Choose materials that suit the amount of maintenance you can manage. Porous counters may need sealing, while detailed cabinet doors take longer to clean.
Plan Plumbing, Electrical, and Lighting
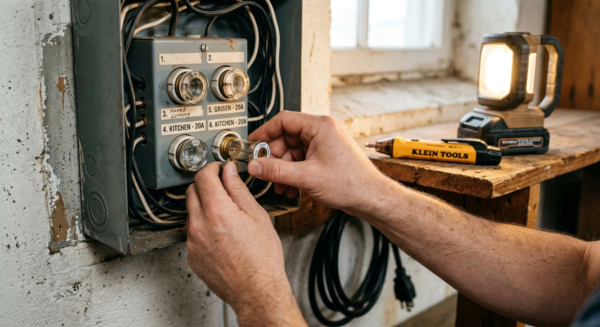
Map outlets and lighting before crews close the walls. Include dedicated circuits for major appliances and accessible outlets for countertop equipment.
Create a Layered Lighting Plan
- Ceiling fixtures for general light
- Under-cabinet fixtures for counter work
- Pendants for islands or tables
- Interior cabinet lighting where useful
- Dimmers for flexible light levels
Decide where switches, outlets, and controls should sit. Place them according to the layout rather than copying the old kitchen automatically.
Review plumbing changes with the contractor before work begins. Moving a sink or dishwasher may require extra wall, floor, and drain work.
Order Products and Build the Schedule
Do not schedule demolition until key products have confirmed delivery dates. Cabinets and appliances should arrive on time, but delays remain common.
Create a project calendar with the contractor. Include demolition, rough plumbing, electrical work, inspections, drywall, flooring, cabinets, counters, and final connections.
Confirm Deliveries
- Inspect boxes for visible damage.
- Check model numbers against the order.
- Count cabinet parts and hardware.
- Open materials within the supplier’s claim period.
- Store products in a dry, secure area.
- Protect finished surfaces from construction traffic.
Report missing or damaged items immediately. A single cabinet panel or incorrect appliance can hold up several trades.
Prepare the House for Construction
Set up a temporary kitchen with a microwave, coffee maker, basic dishes, and food storage. If possible, place it near a utility sink or bathroom.
- Remove food, cookware, and small appliances.
- Protect nearby floors and furniture.
- Seal doorways to limit dust.
- Clear a path for workers and deliveries.
- Arrange pet and child safety plans.
- Confirm work hours and parking rules.
- Plan for several days without water or cooking appliances.
Keep valuables and fragile items away from adjoining walls. Vibration from demolition can shift pictures, shelves, and loose objects.
Monitor Construction and Document Changes
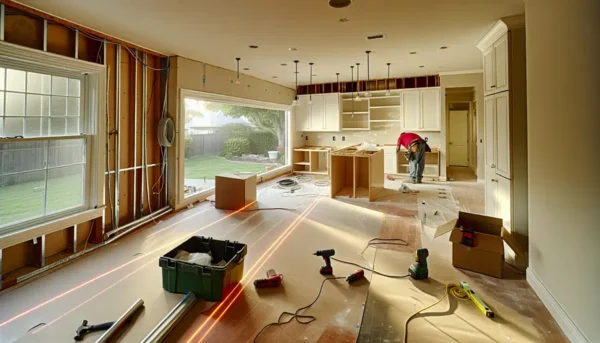
Walk through the project with the contractor at regular intervals. Address errors early, before counters, tile, or trim cover the work.
Document all changes in writing. Each change order should show the revised price, schedule impact, materials, and approval date.
Check Work at Key Stages
- Verify plumbing and electrical locations before drywall.
- Confirm cabinet placement before crews fasten every box.
- Review countertop seams and overhangs during templating.
- Inspect tile layout before installation starts.
- Test appliance clearances before final hookups.
- Photograph wiring and pipes before walls close.
Keep conversations direct and specific. Photos, measurements, and product numbers prevent confusion better than verbal descriptions alone.
Complete the Final Walkthrough
Inspect the kitchen in daylight and with every fixture turned on. Open each door and drawer, run every appliance, and check all plumbing connections.
- Test outlets, switches, and dimmers.
- Check faucets, drains, and shutoff valves for leaks.
- Confirm that appliances sit level and operate correctly.
- Inspect cabinet doors, drawer fronts, and hardware alignment.
- Look for chipped tile, uneven grout, and damaged paint.
- Review caulk around counters, sinks, and backsplashes.
- Confirm that the contractor completed permit inspections.
- Collect warranties, manuals, receipts, and spare materials.
Create a written punch list with photos and completion dates. Hold the final payment until the contractor finishes the agreed work.
Keep the Remodel Organized Until the Last Repair
Keep your kitchen remodel checklist available throughout construction, not only during planning. Update it after deliveries, inspections, payments, and design changes.
A well-managed remodel depends on accurate measurements, clear decisions, and steady communication. Finish the punch list, store project records, and note paint colors or product numbers for future repairs.