How to Cut Crown Molding with a Miter Saw: A Step-by-Step Guide
Learning how to cut crown molding with a miter saw is essential for any DIY project that demands polished results. Whether you’re prepping your Kansas City home for guests or upgrading a vintage trailer in Lake Tahoe, mastering this classic carpentry skill brings a touch of elegance and professionalism to any space. Crown molding may be a small design choice, but when executed correctly, it elevates ceilings, frames interiors, and completes the visual flow of a room.
To achieve crisp, clean corners, you’ll need more than just a quality saw—you’ll need smart setup, attention to detail, and some well-earned tips from seasoned pros.
Understanding Crown Molding Angles
Cutting crown molding accurately means understanding its angles. The trim sits between wall and ceiling, forming compound angles that require precise cuts on multiple planes. This is why knowing how to cut crown molding with a miter saw provides creative control and professional-looking results.
Start by identifying your crown molding’s spring angle—typically 38°, 45°, or 52°. This angle defines how the molding projects from the wall and is critical in determining your saw settings. Use an angle finder or consult manufacturer specs to confirm.
You’ll encounter two main types of corners:
- Outside corners: These are prominently visible and require precise alignment.
- Inside corners: Easier to hide imperfections, but trickier due to uneven walls.
Always double-check your wall angles—especially in older homes or cabins—since most corners are not a perfect 90°.
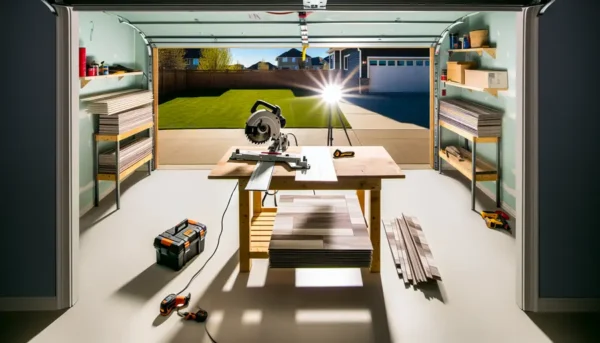
Setting Up Your Miter Saw for Crown Molding
The success of any crown molding project starts with the right miter saw setup. Select a 10- or 12-inch compound miter saw. A dual-bevel saw gives greater versatility for angled cuts, especially if you’re tackling complex trim in multiple rooms.
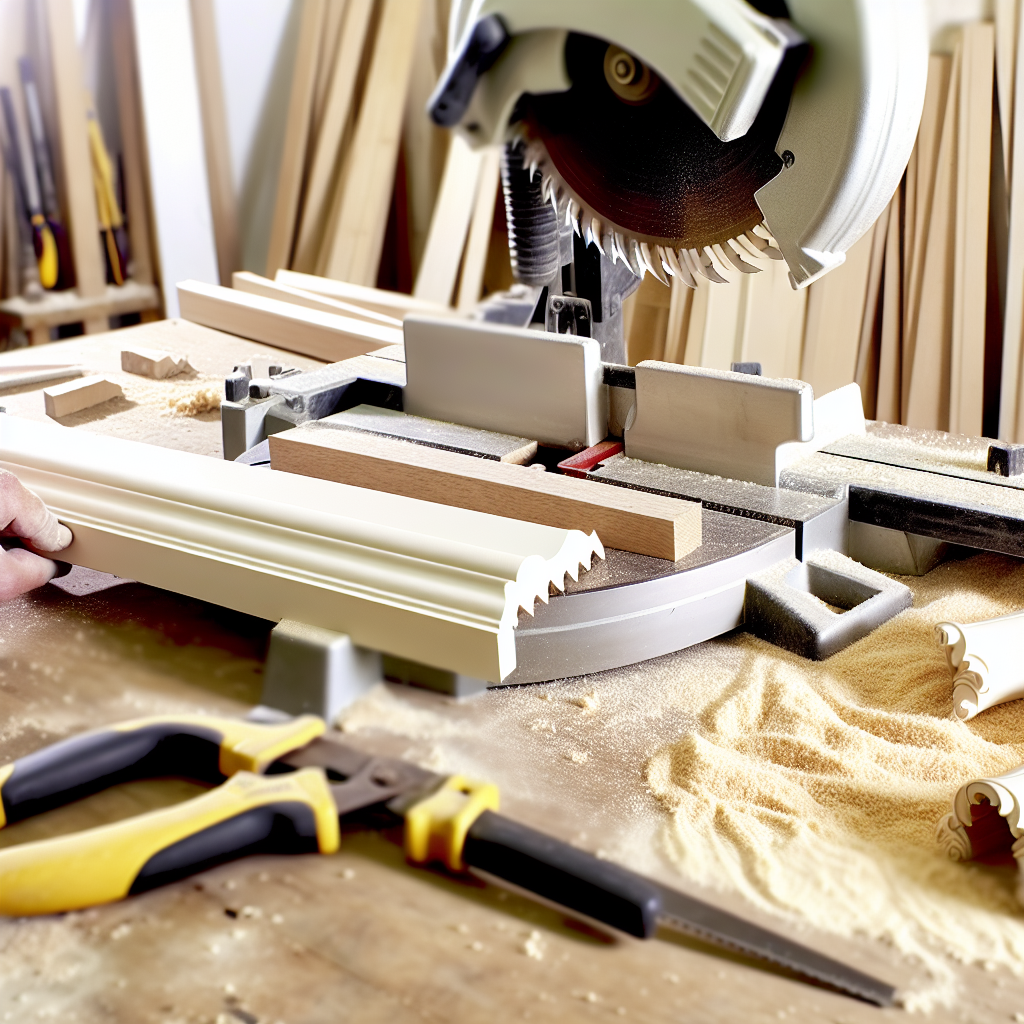
One of the easiest techniques for cutting crown molding with a miter saw is the upside-down-and-backward method. Here’s how to do it:
- Place the molding upside down with the ceiling edge resting on the fence and wall edge on the saw table.
- Use clamp blocks or a crown molding jig to hold the molding at its correct spring angle.
- Clearly label each piece before cutting to avoid confusion—marking pieces “LT-OUT” or “RT-IN” is a helpful system.
This setup ensures consistent, accurate cuts every time.
How to Cut Inside Corners with a Miter Saw
Inside corners are often deceptive. Although they may appear easier to hide, irregular walls can make a precise fit more difficult. Depending on your project location—whether it’s a beach cottage or a mountain retreat—choose one of the two common methods:
- Cope Cutting: Preferred for irregular walls. One piece is cut normally; the other is coped with a coping saw to fit the first’s profile. It’s detailed but effective.
- Miter Cutting: Quicker and easier for square corners. Both pieces are cut at angled ends for a tight fit.
For mitered inside corners using a miter saw:
- Set the saw to a 45° angle.
- Turn the blade to the left for the right-hand piece; turn right for the left-hand piece.
- Ensure molding remains upside down—ceiling edge against the fence.
Always perform a dry fit before installing to confirm precision, especially in humidity-prone areas where wood can expand or contract.
How to Cut Outside Corners with a Miter Saw
Outside corners offer dramatic visual payoff—and knowing how to cut crown molding with a miter saw makes achieving crisp exterior corners much easier. These are highly visible, so precision is key.
Follow these steps for clean outside corner cuts:
- Position the molding upside down, with the ceiling edge pressed firmly against the fence.
- Set your miter saw to a 45° angle, or adjust based on your spring and wall angles.
- Cut the left-hand piece with the blade angled to the right; the right-hand piece with the blade angled to the left.
After cutting, lightly sand to remove burrs and use wood filler for minor gaps. Label each piece before sawing to avoid mismatches.
Professional Measuring and Marking Techniques
Precision marking ensures professional results. Use a digital angle finder or a bevel gauge to measure corners accurately. If a corner reads something like 88°, split that evenly—cut each piece at 44°.
To minimize mistakes:
- Label each piece with corner ID and orientation (e.g., “RT-IN”).
- Consider using color-coded tape for different corners—this saves time during installation.
- Mark ceiling locations with chalk or light pencil to match trim positioning during installation.
Clean markings prevent guesswork and help maintain consistency throughout your project.
Tips from Local Experts to Improve Accuracy
Ask any DIYer from Flagstaff, Arizona to Boone, North Carolina, and they’ll agree—test cuts are your best friend. Local woodworking pros recommend cutting short scrap blocks first to test your angles before committing to full-length molding.
Additional expert tips:
- Use a support stand or roller when cutting long pieces—this ensures stability and keeps cuts accurate.
- In dry climates like Durango, Colorado, seal the back of your molding to prevent warping from moisture loss.
- Before each project, calibrate your saw. Confirm miter and bevel accuracy, and inspect the blade for sharpness.
Proper maintenance and preparation are as crucial as the cuts themselves.
Finishing and Installing Crown Molding Like a Pro
After cutting all your crown molding with a miter saw, it’s time to install. Use finishing nails or a brad nailer to fasten the trim into wall studs. For added durability—especially in humid climates—pair adhesive with nails.
Once mounted:
- Fill nail holes and seams with paintable wood filler.
- Sand lightly to smooth out edges.
- Finish with paint or stain that complements your space’s color palette.
In historic homes, consider matching the molding style to the architectural era. This adds visual harmony and increases home value.
Final Takeaways: Cut Crown Molding Like a Craftsman
Learning how to cut crown molding with a miter saw merges technical skill with artistic detail. With the right tools and techniques, even first-time DIYers can achieve professional-quality finishes. Remember these key steps:
- Set up your saw and jig correctly before cutting.
- Measure, mark, and label everything before moving to the saw.
- Adjust angles based on actual wall measurements—don’t assume 90° corners.
- Dry-fit everything and sand lightly before installing.
Whether you’re working on your forever home, rental property, or on-the-go trailer, these tips help transform your space. Cutting crown molding with a miter saw isn’t just a task—it’s a skill that sets your craftsmanship apart.