How to Fix Holes in Vinyl Siding: A Step-by-Step Guide
Knowing how to fix holes in vinyl siding is essential for homeowners looking to protect their investment, preserve curb appeal, and prevent weather-related damage. Vinyl siding is a popular choice for homes across the country due to its affordability, durability, and ease of maintenance. But no matter how tough it is, it’s still vulnerable to damage from hail, flying debris, or backyard mishaps—from Boulder to Bangor.
Whether you’re restoring your lakeside cabin in Upstate New York or preparing your family home in Kansas City for summer festivities, fixing holes in your vinyl siding can be a straightforward DIY project. With a few essential tools and a bit of patience, you can regain your home’s polished appearance and protect it from the elements.
Assessing Vinyl Siding Damage: Identify the Problem
Before diving into the repair, you’ll need to determine the extent of the damage. This is a crucial step in learning how to fix holes in vinyl siding effectively. Small holes (under 1 inch) are common and often result from rogue stones or hail. They’re usually quick fixes. Larger holes, cracks, or warped panels may require replacing full sections of siding.
Check the surrounding area closely. Vinyl becomes brittle in freezing weather and overly flexible in extreme heat, so examine the material’s condition carefully. Damage near seams or edges may indicate it’s better to replace a full panel instead of patching.
Repair Tip:
- Use binoculars or a drone to spot damage higher up—especially for multi-story homes in mountainous areas.
- Photograph the damage to help match siding color at your local hardware or building supply store.
What You’ll Need: Tools and Materials for the Repair
You don’t need professional training or advanced equipment to fix holes in vinyl siding. Most of the tools are readily available at your neighborhood hardware store and are affordable on almost any budget.
- Vinyl siding patch or replacement panel (matched to existing color)
- Utility knife or tin snips
- Zip tool (siding removal tool)
- Exterior-grade silicone caulk
- Caulking gun
- Fine-grit sandpaper
- Measuring tape
- Safety gloves
Pro Tip:
Older homes may use discontinued siding styles. Salvage yards or specialty co-ops often carry vintage siding. Call ahead to see what’s in stock before replacing a panel in historic homes.
How to Fix Small Holes in Vinyl Siding
When dealing with minor dings or holes under 1 inch, patching is a fast and effective solution. Follow these steps to achieve a clean and weatherproof patch that blends well with the rest of your siding.
- Clean the Area: Wash the damaged section using mild soap and water. Let it dry completely to ensure proper adhesion.
- Create a Smooth Edge: Use a utility knife to remove jagged vinyl edges, forming a clean hole with no loose material.
- Cut a Patch: From matching leftover siding or a new piece, cut a section slightly larger than the hole. Be precise to help the patch blend in seamlessly.
- Sand the Edges: Lightly sand the patch and edges of the hole. This creates a smooth surface for the caulk to bond.
- Apply Silicone Caulk: Add exterior-grade caulk to the back of the patch. Press it over the hole, holding it in place for a few seconds to secure.
- Seal and Dry: Smooth the caulk edges to prevent water infiltration, then allow 24–48 hours of drying time before exposing it to moisture.
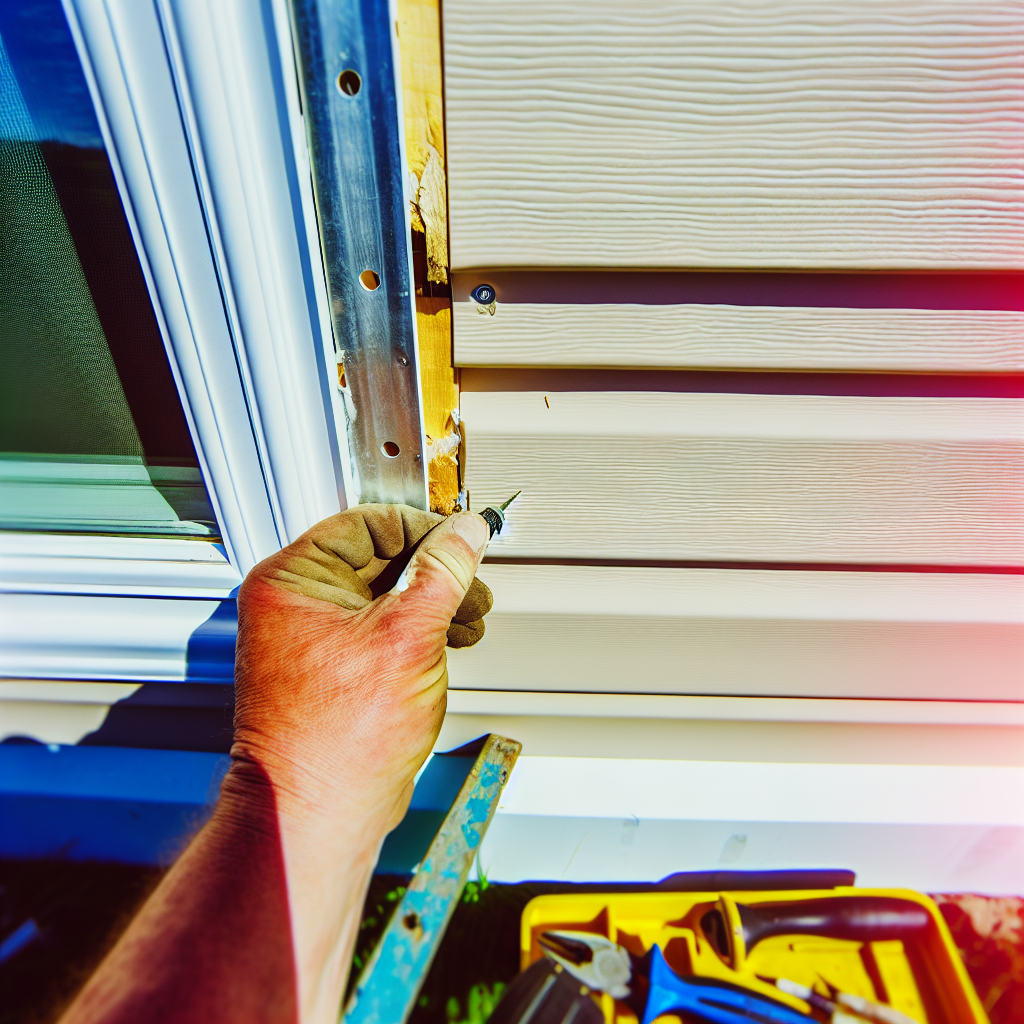
Replacing Larger or Damaged Vinyl Panels
If the hole is wider than a few inches or the panel is cracked or warped, it’s best to replace the entire piece. Replacement ensures long-term protection and restores the structural integrity of your home’s exterior.
- Unlock the Panel: Use a zip tool to unlatch the bottom lip of the panel above the damaged section. Slide the tool across the seam to separate it.
- Remove Fasteners: Carefully extract nails holding the broken panel in place. Avoid disturbing nearby panels during removal.
- Install the Replacement: Fit the new panel into position, aligning it with the neighboring pieces. Leave slight space at each nail to allow expansion and contraction as temperatures shift.
- Reattach the Top Panel: Use the zip tool again to secure the upper panel over the new one. Check for a tight, seamless fit.
DIY Tip:
If you can’t find a color match locally, order a panel online from siding-specific retailers that offer discontinued and niche brands.
Color Matching and Finishing Your Repair
Perfecting the color match enhances repair results and significantly improves curb appeal. Sun exposure can fade siding over time, so an exact match may not be possible off-the-shelf.
Bring a siding sample to a paint center like Sherwin-Williams for color-matching services. These stores can help you find caulk or exterior paint that blends well. For a less visible repair, use a dry brush technique with similar shades to feather the patch edges into the existing siding.
Preventative Maintenance to Avoid Future Holes
Once you’ve learned how to fix holes in vinyl siding, ongoing maintenance can help prevent future problems and extend the life of your home’s exterior finish.
- Trim Nearby Trees: Cut back branches that could scrape or strike the siding during storms or strong winds.
- Handle Yard Tools Carefully: Electric trimmers, power washers, and snowblowers often cause unintentional siding damage.
- Inspect After Extreme Weather: Check for damage following heavy winds, hail, or freezing temperatures.
- Keep Extra Panels on Hand: Store a few matching siding panels to simplify future repairs and avoid tricky color-matching dilemmas.
When to Hire a Professional
Sometimes calling a pro is the smartest move. If damage spans multiple panels or you notice mold or moisture beneath the siding, a thorough inspection by a contractor is recommended. In cities with preservation codes—for example, Charleston or Santa Fe—licensed professionals can ensure your vinyl repair complies with local regulations.
Whether you’re updating an investment property or preserving a beloved retreat, fixing holes in your vinyl siding preserves your home’s beauty and value. With the right approach and a little elbow grease, you’ll keep your exterior strong and looking great—for years, seasons, and road trips to come.