The first step in creating custom shelving is designing your shelves. Take time to consider the purpose and location of the shelving in your space. What is the primary function of the shelves? Will they be used for books, decorative displays, or for storing practical items like kitchen supplies or office essentials? The intended use will help guide decisions such as the dimensions, placement, and structure of the shelves. Measure the available space carefully, accounting for the height, width, and depth of the area where the shelves will go. This ensures that your design fits the space perfectly and meets your needs. You’ll also need to decide on the number of shelves you want and the spacing between them. When designing, think about the style and color of the shelves. Choose a look that complements the existing décor of the room while adding a personal touch. Whether you’re opting for a minimalist approach, industrial aesthetic, or classic wooden shelves, the design is key to enhancing the overall vibe of the space.
Choosing the Right Materials
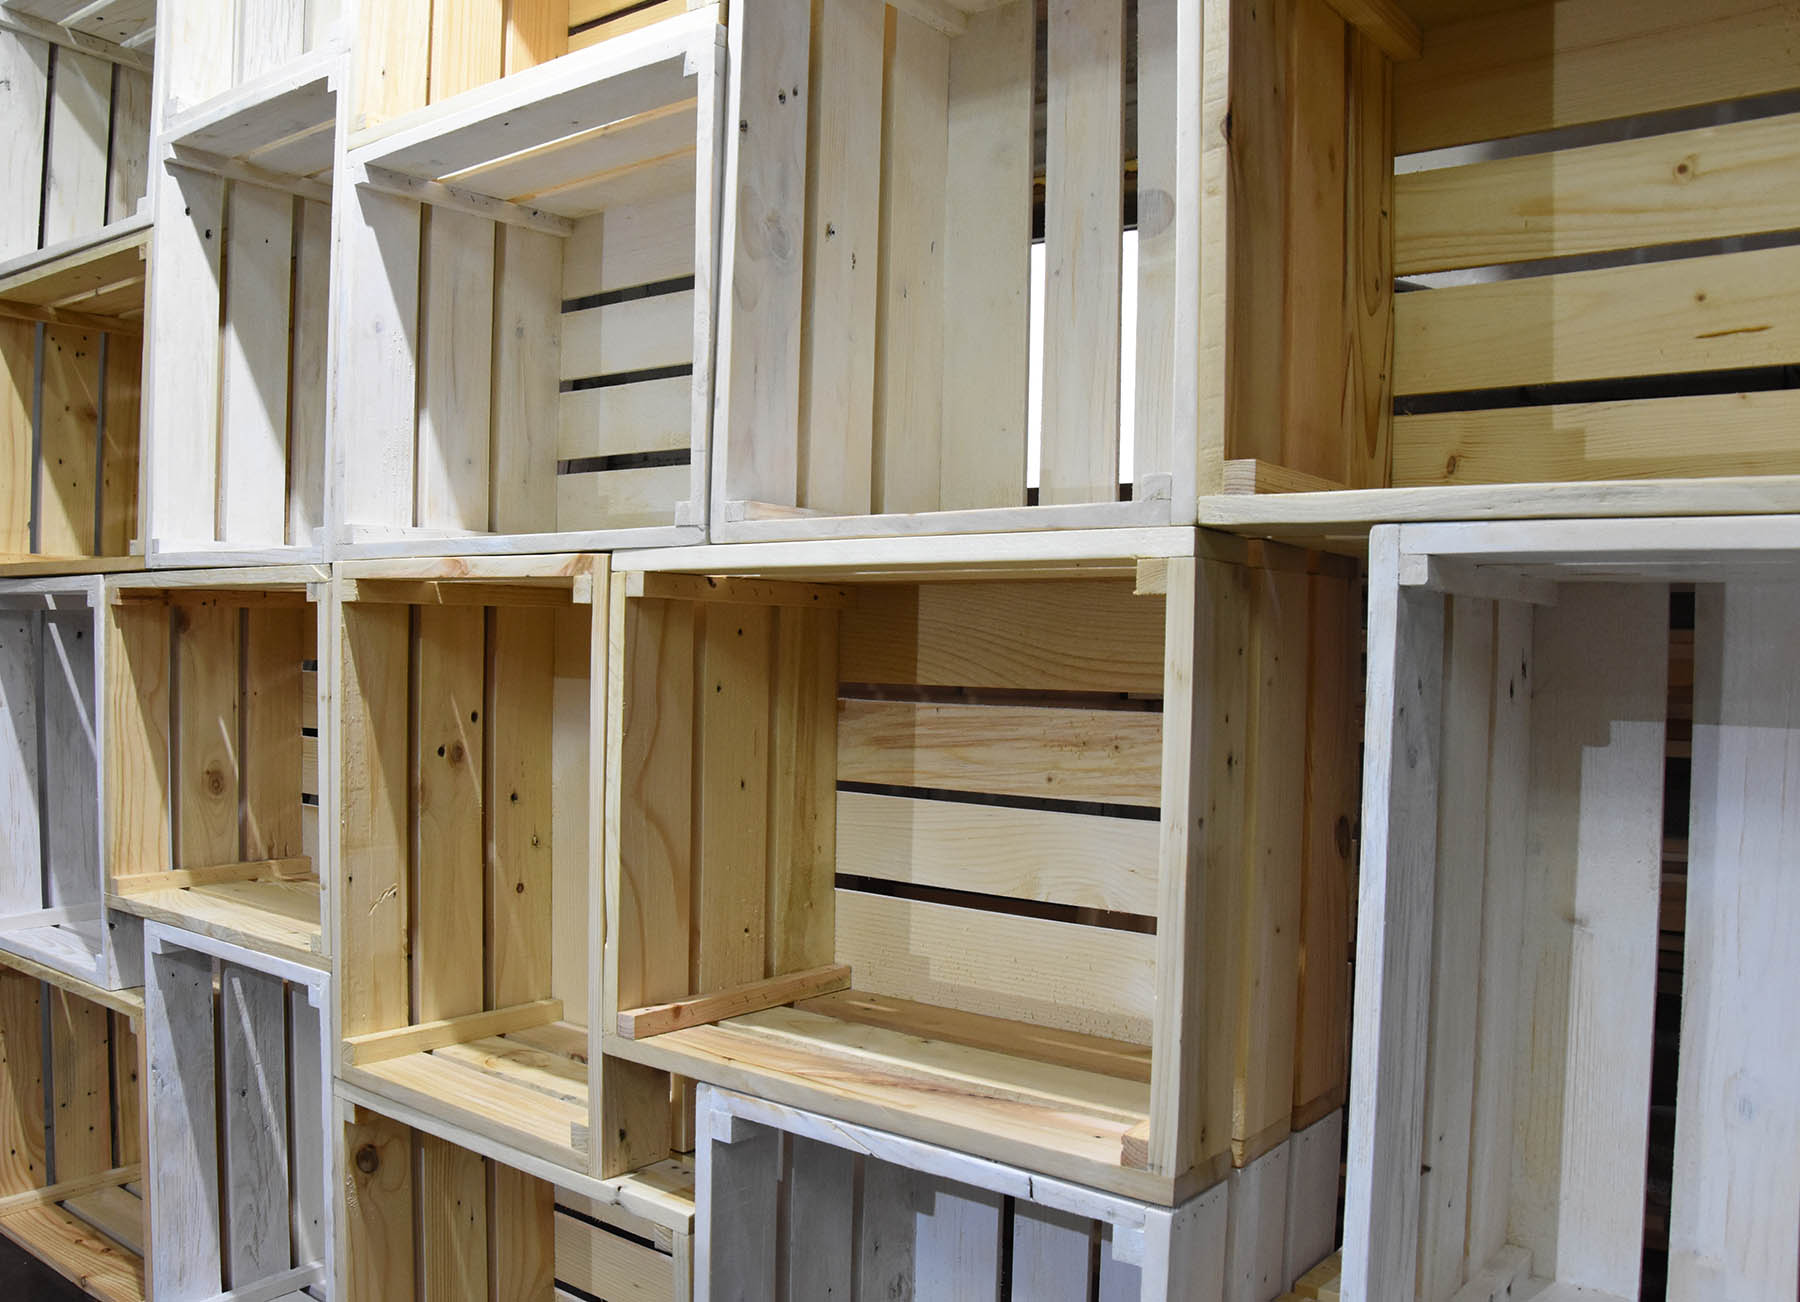
Selecting the right materials is crucial for ensuring the durability and aesthetic appeal of your custom shelving. The most common materials for shelves include wood, MDF (medium-density fiberboard), and plywood. Wood is a popular choice because of its classic, timeless look and strength, making it ideal for heavier items. If you’re looking for a more affordable option, MDF and plywood can offer great results at a lower price point. MDF has a smooth surface that’s perfect for painting, while plywood offers more natural grain and texture. When selecting your material, it’s important to think about what you’ll be placing on the shelves. If you plan to store heavy books, decorative objects, or kitchenware, you’ll want to ensure that the material you choose is strong enough to support the weight. Pay attention to the thickness of the material as well, as thicker shelves will be more robust and provide extra strength for heavier loads.
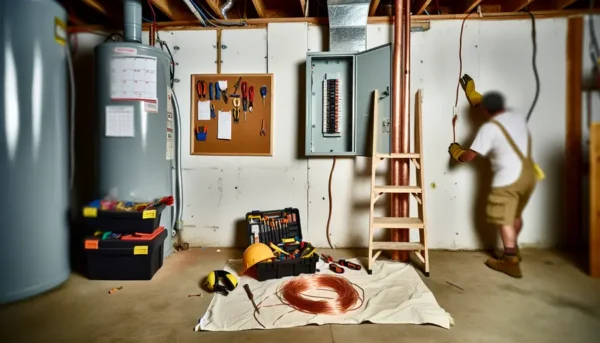
Tools and Equipment Needed
Before starting your custom shelving project, gather all the necessary tools and equipment to make the process go smoothly. The tools you’ll need depend on your design and the materials you’re using, but some essentials include a saw (either a hand saw or a circular saw), a drill, screws, a level, a measuring tape, and sandpaper. If you plan to use brackets for additional support, make sure to have those on hand as well. If you plan to paint or stain your shelves, you’ll also need paint, wood stain, and brushes. A level is especially important for ensuring that your shelves are mounted straight and even, which is essential for both aesthetics and functionality. Having everything organized before you begin will save you time and minimize interruptions during the installation process.
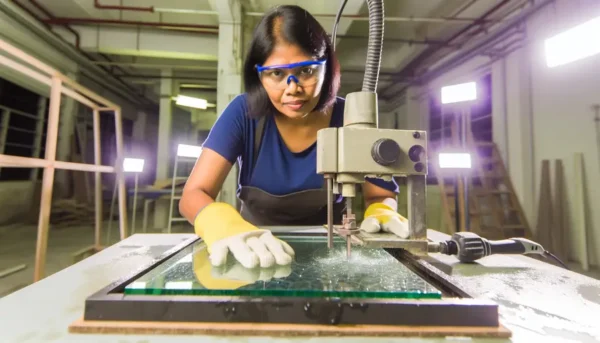
Cutting and Assembling the Shelves
Once you have your materials and tools ready, it’s time to start cutting your shelves to size. Carefully measure your material, ensuring accuracy before making any cuts. Use a saw to cut the shelving material according to your design specifications, making sure to follow the guidelines you marked earlier. If you’re working with thicker wood, take your time to ensure clean, straight cuts. After cutting, use sandpaper to smooth any rough edges or surfaces. This will give your shelves a polished and professional look. If you’re painting or staining your shelves, now is the time to do so. Apply the paint or stain evenly, and allow time for drying before proceeding with assembly. Once your shelves are dry and ready, assemble them using screws or nails, ensuring they’re secure and properly aligned. If you’re using brackets for support, install them carefully, ensuring they provide extra reinforcement and are evenly spaced for maximum strength.
Mounting the Shelves
Mounting your custom shelves securely is essential to ensure they remain stable and functional for years to come. Start by locating the studs in your wall using a stud finder. This is especially important for heavier loads, as attaching the brackets or supports to studs will ensure a secure foundation. If you can’t align your shelves with the studs, you may need to use wall anchors for additional support. Once you’ve identified the placement of the studs, use a drill to attach the mounting brackets or supports to the wall. Before fully securing the brackets, place the shelves on top and check that they’re level using a level. This ensures that your shelves will be perfectly straight. For floating shelves, follow the manufacturer’s instructions for mounting hardware, which often include hidden brackets for a clean, minimalistic look.
Organizing and Decorating Your Shelves
Now that your custom shelving is mounted and secure, it’s time to organize and decorate the shelves to suit your personal style. Start by placing your items in a way that balances the visual weight across the shelves. Heavier items should be placed on lower shelves to prevent the weight from putting too much pressure on the structure. Consider organizing your items by category, such as books, decorative objects, or kitchen supplies, for a more cohesive look. To add personality to your shelves, consider including personal touches like family photos, plants, or artwork that reflects your style. Mix functional items with decorative pieces to create a visually appealing and practical display. Arranging items thoughtfully will help ensure that your shelves serve their purpose while also enhancing the overall aesthetic of the room.
Maintaining Your Custom Shelving
To ensure your custom shelving continues to look great and function well, regular maintenance is important. Dust and clean your shelves periodically to keep them free of debris and dirt. For shelves made of wood, consider polishing or waxing them to maintain their finish and prevent scratches. If you notice any loose screws or brackets over time, tighten them to prevent any instability. Check for any sagging or warping of the material, especially if you have heavy items on your shelves. Regular upkeep will prolong the life of your custom shelves and ensure they remain as beautiful and functional as the day you installed them.
Personalizing for Different Rooms
One of the most appealing aspects of custom shelving is its versatility. Custom shelves can be tailored to fit any room in your home, and you can personalize them to meet the specific needs of each space. In the kitchen, for example, you might add hooks beneath the shelves to store utensils or hang small kitchen accessories. In a child’s room, colorful designs or fun patterns can make the shelves a whimsical and playful addition to the space. For a home office, design shelves that include compartments for storing office supplies, books, and even a designated spot for your computer. Custom shelving offers endless possibilities for customization, allowing you to create functional storage solutions that reflect your style while also enhancing the practicality of the room.
The Impact of Custom Shelving
Custom shelving does more than just provide storage; it adds a unique and personalized touch to your home. With thoughtful design, the right materials, and careful installation, custom shelves can become a focal point in any room. Not only will they serve a functional purpose, but they can also elevate the aesthetic of the space. Whether you’re looking to showcase your book collection, display your favorite art pieces, or simply create more storage space, custom shelving offers a solution that’s both practical and stylish. The satisfaction of completing a DIY project that enhances your living space is incredibly rewarding, and the impact custom shelves have on your home’s décor is immeasurable.