Painting a room is a quick and effective way to refresh its appearance and breathe new life into your home. Whether you want a subtle update or a bold change, a fresh coat of paint can dramatically transform your space. This comprehensive step-by-step guide will help you navigate the painting process, ensuring professional results and a room you’ll love.
Planning Your Painting Project
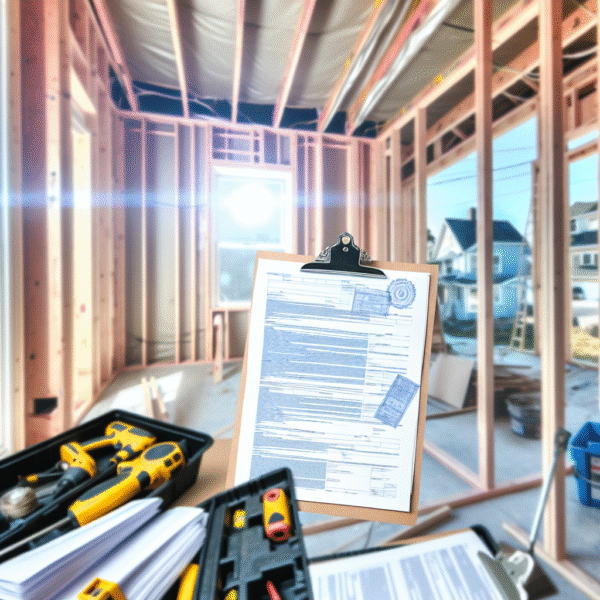
Successful painting begins with thoughtful planning. Start by deciding on your paint color and type. When selecting a color, consider the room’s function, the amount of natural light it receives, and its size. Cooler tones can create a calming atmosphere, while warmer shades add energy and coziness. Once your color is chosen, gather all the necessary materials: paint, brushes, rollers, painter’s tape, drop cloths, and a sturdy ladder. Having everything prepared beforehand will save time and prevent interruptions during the project.
Preparing the Room
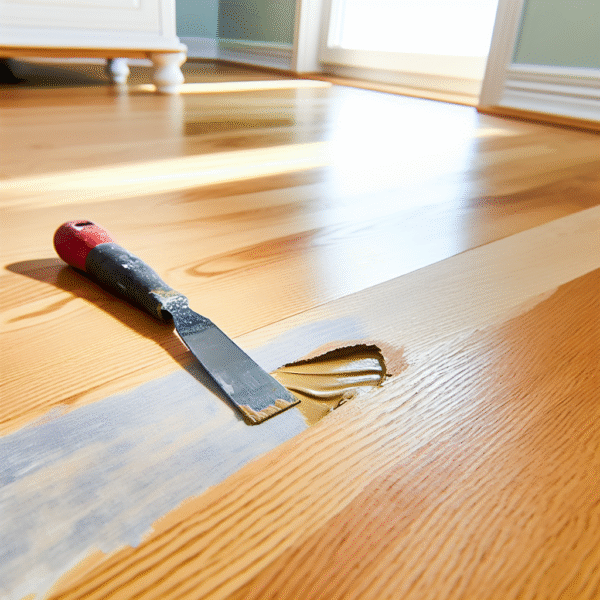
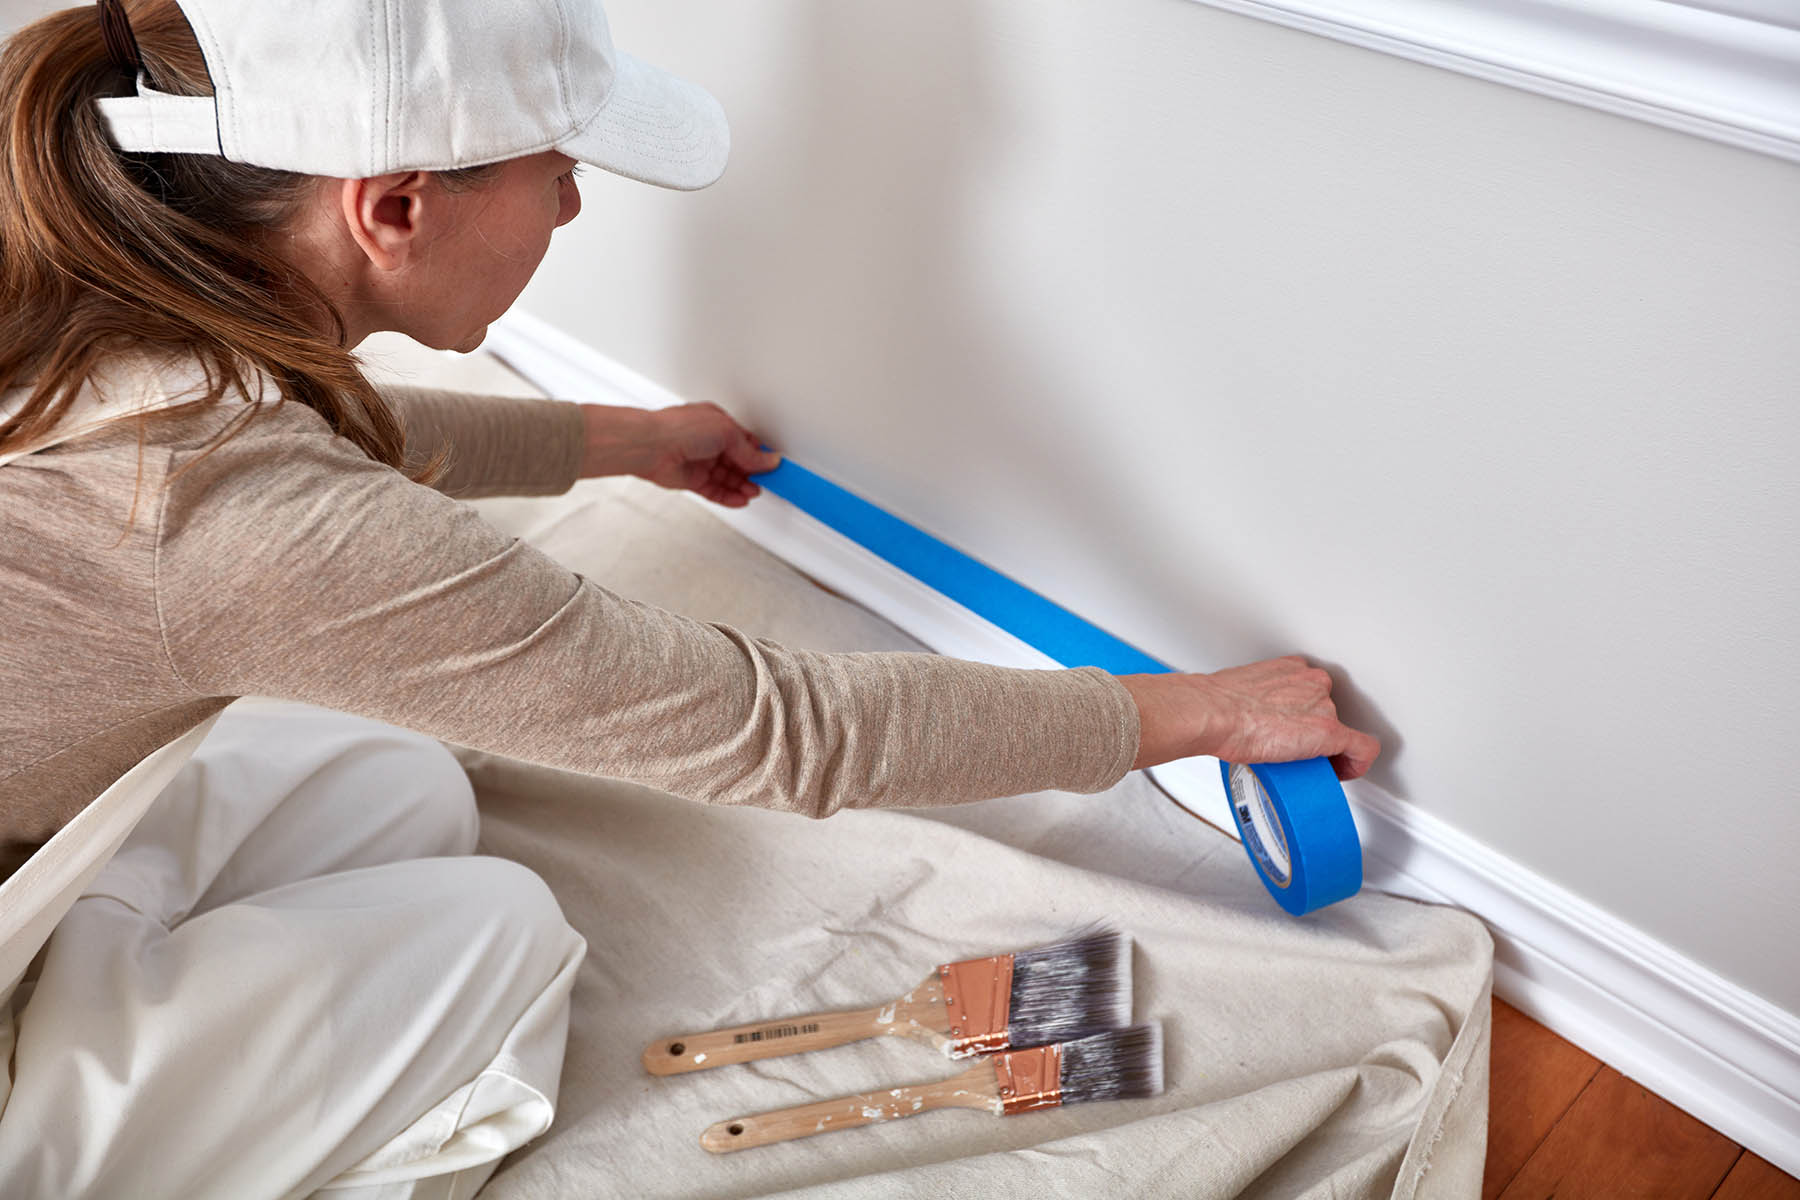
Proper preparation is the foundation of a flawless paint job. Begin by clearing the room of as much furniture as possible. For larger pieces that cannot be moved, cover them with drop cloths to protect them from paint splatters. Clean the walls thoroughly to remove dust, dirt, and grease, as these can affect paint adhesion. Use spackle to fill in any nail holes, cracks, or imperfections, and sand the surface smooth once it’s dry. Carefully apply painter’s tape along the edges of ceilings, baseboards, and trim to achieve sharp, clean lines. Taking the time to prepare ensures a polished finish.
Choosing the Right Paint and Tools
The paint and tools you choose can greatly influence the outcome of your project. Water-based latex paint is a popular choice for interior walls due to its durability and ease of cleaning. When deciding on the sheen, think about the room’s traffic levels: flat or matte finishes are ideal for low-traffic areas, while semi-gloss or satin finishes work well in high-traffic or moisture-prone spaces like kitchens and bathrooms. Quality tools are equally important; invest in good brushes and rollers for smoother application and better coverage, as they make the process more efficient and enjoyable.
Priming the Walls
Primer is often an overlooked but critical step, especially if you’re making a drastic color change or covering dark, uneven surfaces. Applying primer creates a smooth base, ensures even color distribution, and enhances the paint’s adhesion to the wall. Use a roller to cover large areas quickly, and a brush to reach corners and edges. Allow the primer to dry fully before proceeding, as this step sets the stage for a professional-grade finish.
Painting Techniques for Walls
To achieve a clean and uniform look, proper painting techniques are essential. If you’re also painting the ceiling, start with it before moving on to the walls. Begin by using a brush to “cut in” around the edges, corners, and areas near the painter’s tape. This creates a border and ensures the roller doesn’t miss any spots. With the roller, work from a corner of the wall in long, overlapping strokes. Use consistent pressure and avoid overloading the roller with paint to prevent drips or streaks. Taking your time and following these techniques will yield smooth, even results.
Applying Multiple Coats
Most paint jobs require more than one coat for even coverage and rich color. After the first coat, allow the paint to dry completely, following the manufacturer’s recommended drying time. This patience is crucial, as rushing can lead to uneven patches or peeling. Once dry, apply a second coat using the same method. If a third coat is necessary, repeat the process. The effort you put into applying multiple coats ensures a vibrant and long-lasting finish.
Finishing Touches and Clean-Up
After the paint has dried, it’s time to focus on the finishing touches. Carefully peel off the painter’s tape at a slight angle to avoid pulling up paint along with it. Inspect the walls for any areas that need touch-ups and address them with a small brush. Replace furniture and remove drop cloths, taking care to avoid smudging the freshly painted surfaces. Finally, clean your brushes and rollers thoroughly with soap and water or the appropriate cleaning solution so they’re ready for future projects.
Maintenance and Upkeep
A newly painted room requires regular care to keep it looking fresh. Clean the walls periodically with a damp cloth or sponge to remove dust and smudges. In high-traffic areas, touch up scuffs or scratches as needed to maintain the room’s polished appearance. Consistent upkeep will extend the life of your paint job and keep your space looking beautiful for years.
Personalizing Your Space
With the painting complete, it’s time to add your personal touch. Choose artwork, curtains, or decorative items that complement the new wall color and enhance the overall aesthetic of the room. Rearrange furniture to create a refreshed layout, or introduce new accent pieces to highlight the transformation. Personalizing your space allows you to make it uniquely yours while showcasing the results of your hard work.
Enjoying Your Newly Painted Room
Painting a room is a simple yet impactful way to transform your home. By planning carefully, preparing thoroughly, and using the right tools and techniques, you can achieve stunning results that rival professional work. Once complete, take a moment to enjoy the refreshed atmosphere and the sense of accomplishment that comes with a job well done. Your newly painted room is not just a testament to your effort—it’s a space where memories can be made and creativity can thrive.