Installing a home security system is a practical, proactive way to protect your family and belongings. Whether you’re looking to secure your home against intruders, monitor activity, or simply add peace of mind, setting up a basic security system can be an easy DIY project that makes a significant difference. With advancements in technology, today’s systems are more user-friendly and accessible than ever before. This guide will take you through the fundamental steps of installing a home security system, including setting up cameras, sensors, alarms, and integrating smart devices, so you can enjoy enhanced protection for your home.
Assessing Your Home Security Needs
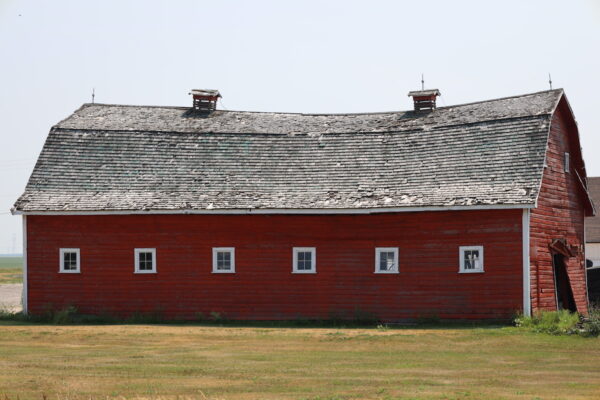
Before diving into the home security system installation process, it’s essential to assess your home’s security needs. Think about the size and layout of your property, the number of entry points, and any specific areas that may require extra surveillance. For example, are there vulnerable spots, such as backdoors or windows, that need extra attention? Does your home have an attached garage or a basement that should be monitored? An assessment will also help you identify the right locations for placing cameras and sensors to ensure maximum coverage. Additionally, consider any outdoor spaces that might be worth monitoring, such as driveways or gardens, which could be potential access points for intruders. Once you clearly understand your home’s layout and needs, you can better choose the appropriate components for your system.
Choosing the Right Security System
Choosing the right home security system is key to ensuring you get the protection you need. There is a wide range of systems on the market, varying in complexity and features. From basic camera setups that allow you to monitor specific areas to more advanced systems that include motion detectors, door/window sensors, and even smart home integrations, there’s a solution for every home and budget. While evaluating options, consider the ease of installation—some systems require professional installation, while others are designed for DIY setup. Additionally, think about whether you want a wired or wireless system, as well as the level of control you want over your system. Wireless systems tend to be more flexible and easier to install, whereas wired systems may offer more stability. If you already have smart home devices, you might want to select a system that integrates seamlessly with those devices, allowing you to control everything from a single app or platform.
Essential Tools and Components
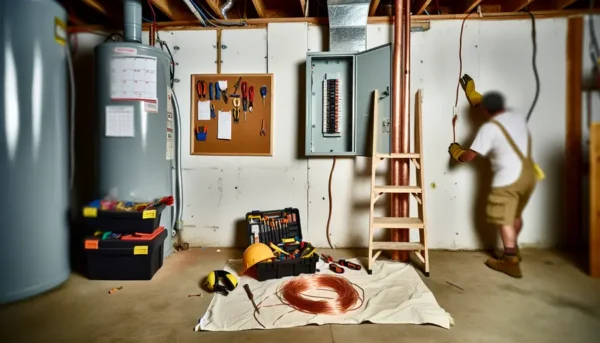
Before you begin the installation process, it’s important to gather all the necessary tools and components to ensure the setup goes smoothly. Depending on the system you choose, you’ll likely need a variety of components such as security cameras, motion sensors, door/window sensors, a control panel, and any additional wiring or batteries. Make sure you also have basic tools like a drill, screwdriver, and measuring tape on hand. If you’re mounting equipment at a height, a ladder will come in handy. Don’t forget to double-check the components provided with your security system to make sure you have everything you need. If you’re installing outdoor cameras, consider weatherproof enclosures or covers to protect your equipment from the elements. With everything in place, you’ll be ready to get started on the installation.
Installing the Control Panel
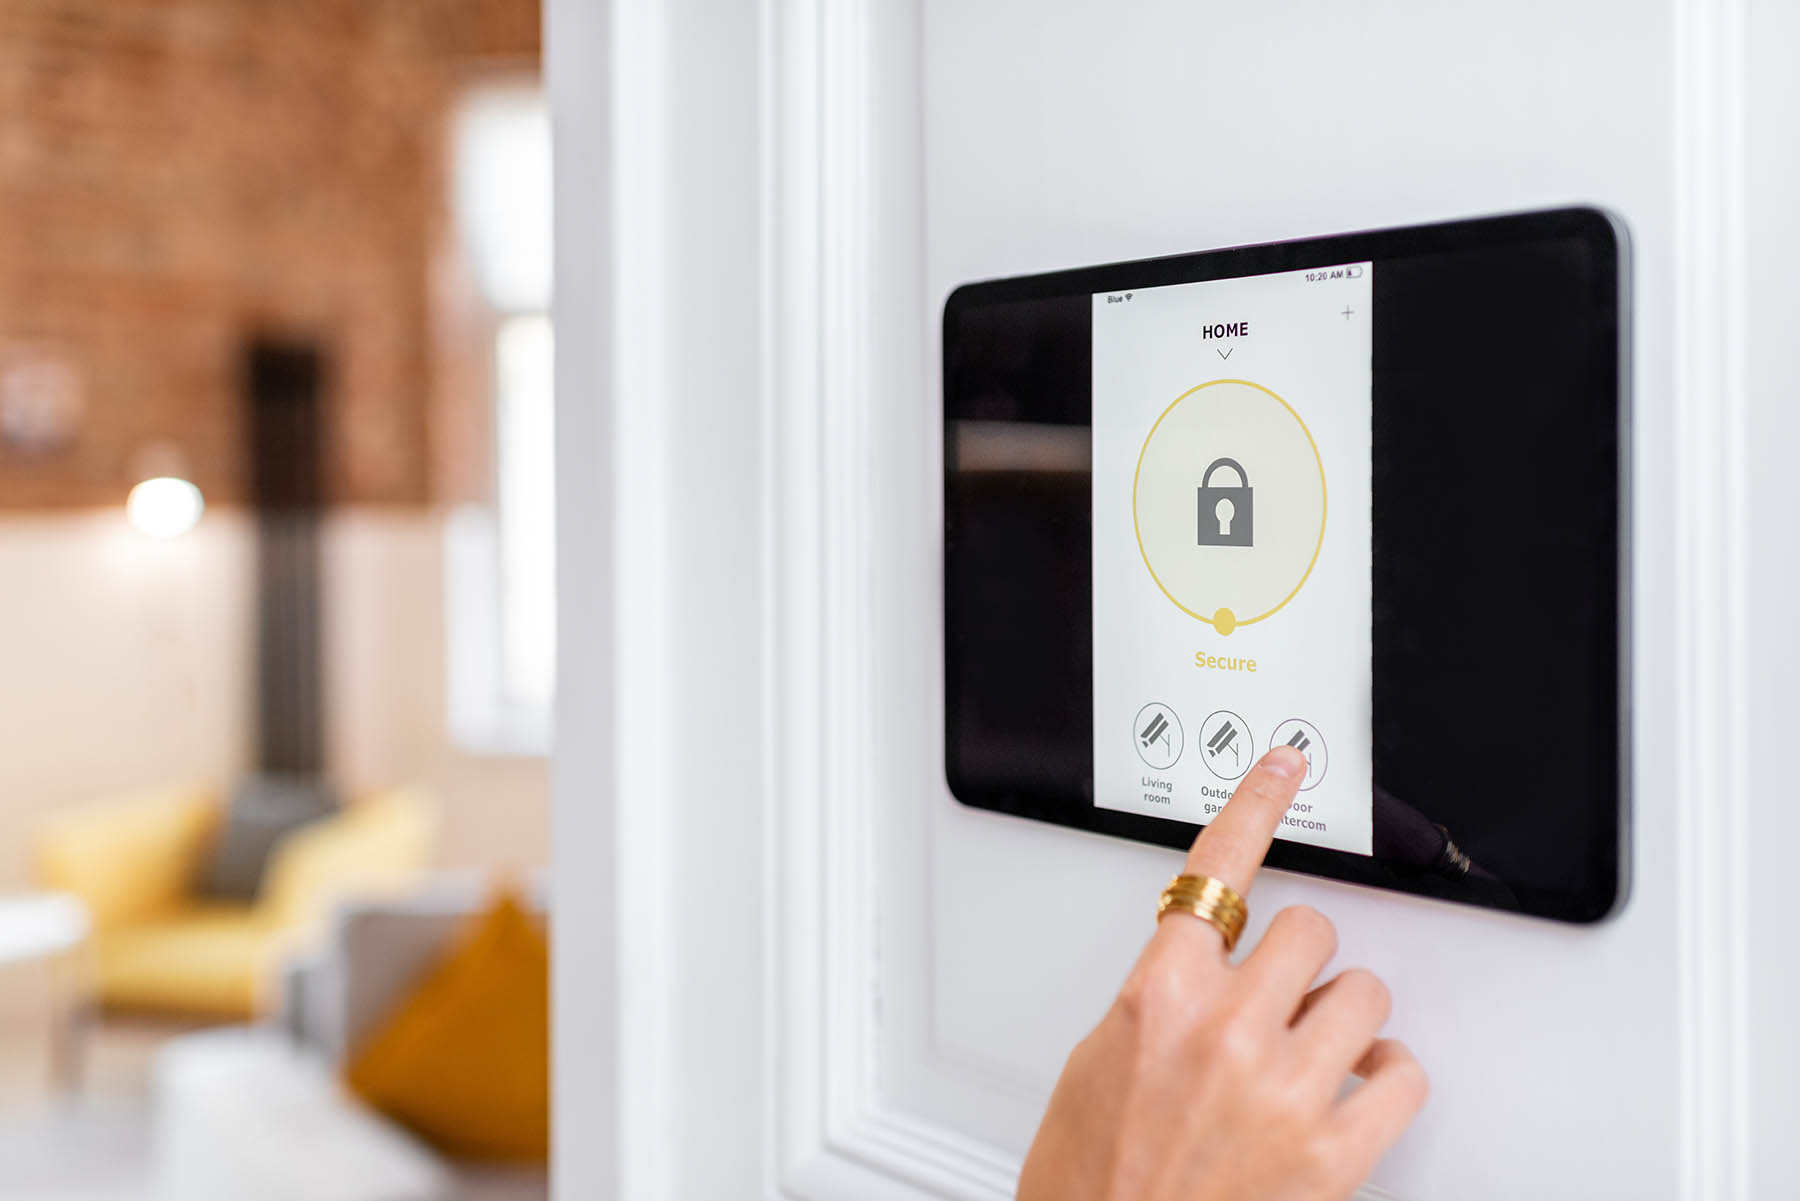
The control panel serves as the central hub of your home security system installation, allowing you to monitor and control all the components. When selecting a location for your control panel, aim for a central, easily accessible spot that isn’t too obvious—placing it out of direct view from windows can help prevent tampering by potential intruders. Most control panels are designed for simple wall mounting, so pick a spot near an electrical outlet and within range of your Wi-Fi network if it’s a smart system. Be sure to follow the manufacturer’s instructions for mounting the panel, as improper installation could impact the performance of your security system. Once it’s securely in place, you can begin connecting the other components.
Setting Up Cameras and Sensors
Strategically positioning cameras and sensors around your home is critical for ensuring optimal coverage and protection during your home security system installation. Start by placing sensors on all entry points, including doors and windows, as these are the most common areas for break-ins. Sensors will alert you if a door or window is opened when the system is armed. When installing cameras, think about both indoor and outdoor areas that need surveillance. Outdoor cameras should be installed in well-lit areas and aimed at possible entry points like the driveway, front porch, or backyard. For indoor cameras, consider common areas, hallways, and rooms with valuables. Be mindful of camera placement, ensuring that they cover as much area as possible while being discreet. Use mounts or brackets to securely fix the cameras in place and avoid any vibrations or shifting.
Configuring and Testing the System
After all the components are installed, it’s time to configure your home security system. Follow the manufacturer’s instructions carefully, as the setup process may vary depending on the system you’ve chosen. In general, you’ll need to connect your system to your home Wi-Fi network, create user accounts, and customize your settings. Pay close attention to the motion detection sensitivity settings to avoid false alarms from pets or passing cars. Once you configure everything, thoroughly test each component to ensure it functions properly. Check if sensors trigger alarms when doors or windows open, and ensure that cameras provide clear images. Test during both daytime and nighttime to ensure optimal camera performance in different lighting conditions. If needed, adjust camera angles or sensor placement for better coverage.
Connecting to Smart Home Devices
Many modern security systems integrate with smart home devices, allowing you to control your home from one app. Connect your system to smart locks, lights, or thermostats for added convenience. For example, set up actions like turning on lights when motion is detected or locking doors remotely. You can also use mobile apps for remote monitoring, checking on your home from anywhere. With smart home connectivity, managing your security system becomes easy and enhances your home automation experience.
Regular Maintenance and Updates
Just like any other system in your home, your security system requires regular maintenance to ensure it continues to function at its best. Schedule periodic checks to make sure all components are in working order. This includes testing sensors, checking camera angles, and ensuring the control panel is functioning correctly. If your system relies on batteries, replace them regularly to prevent outages. Keep the camera lenses clean to maintain clear video quality, and make sure all wiring is securely connected. Software and firmware updates are also essential for maintaining security and fixing bugs. Keeping your system updated ensures you have the latest security features and patches to protect your home.
Peace of Mind with DIY Security
Installing a home security system may seem daunting, but with the right tools and knowledge, it can be a rewarding DIY project. It will improve your home’s safety and give you a better understanding of how your system works. You’ll feel satisfied knowing you played an active role in securing your home. Once your system is set up, you’ll enjoy the peace of mind that comes with knowing your home is protected. By following the steps in this guide, you’ll have a fully functional security system that provides convenience and protection for your family. Whether you’re opting for a simple setup or an advanced system, home security installation is a manageable project that can make a lasting impact on your home’s safety.