How to Fix Leaking Garbage Disposal: Identifying the Leak
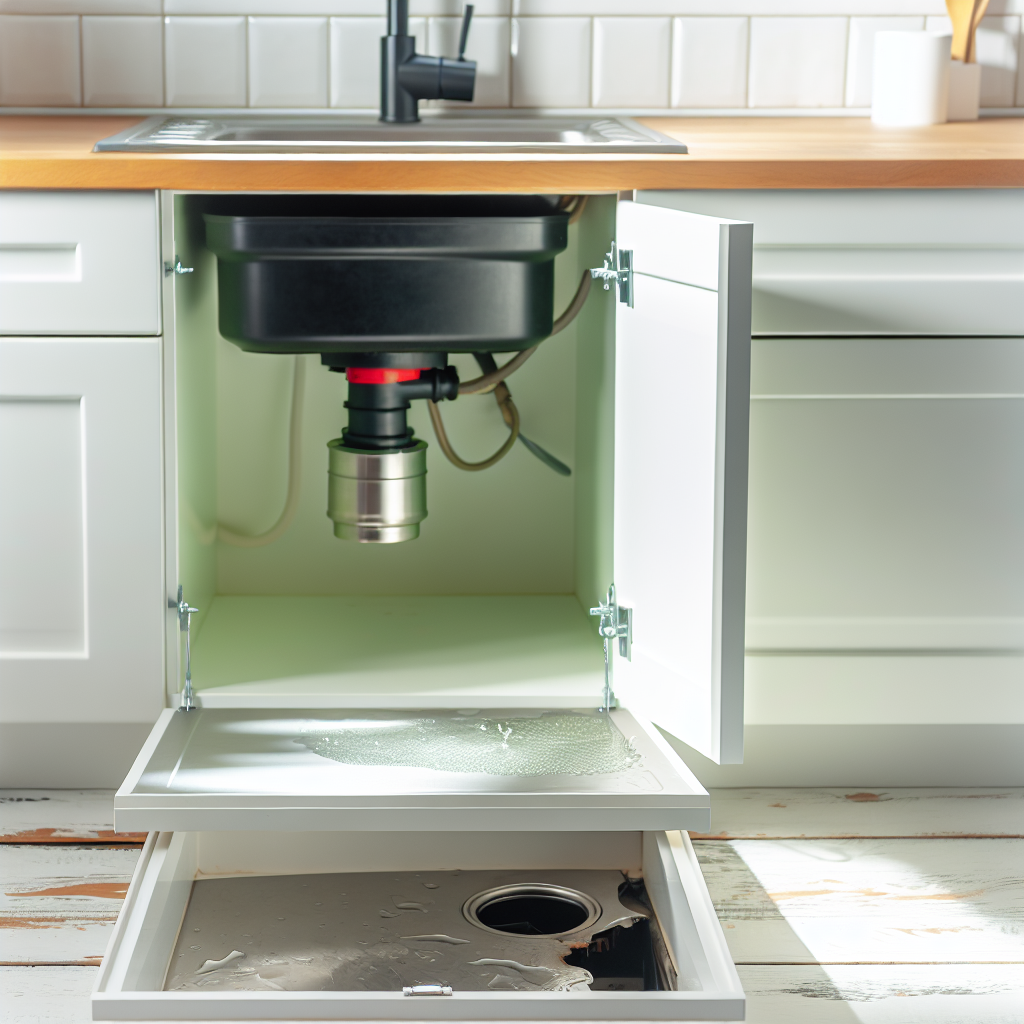
Coming home from a Yosemite hiking trip, a cross-country van journey, or a Prague city break, discovering a leak under the sink can be a rude welcome. Knowing how to fix leaking garbage disposal issues is essential for a stress-free return. The first—and most important—step is locating the source of the leak. Not all leaks are created equal, and their origin determines the ideal fix.
Most garbage disposal leaks occur in one of three areas: the top (sink flange), the sides (dishwasher hose or drain lines), or the bottom (internal seals). Use a flashlight and run the disposal while checking each location. A slow drip may leave streaks or small pools, so inspect thoroughly. A handy trick from Portland DIYers: sprinkle flour around the base. Moisture spots will highlight the leak’s location with minimal effort.
Essential Tools and Materials for Disposal Repair
Before diving into repairs, gather the necessary tools. Effectively learning how to fix leaking garbage disposal systems starts with preparation. Whether you’re in a Boulder mountain cabin or a Santa Cruz beach house, here’s your basic toolkit:
- Adjustable or basin wrench
- Plumber’s putty
- Replacement gaskets or sink flange (if needed)
- Flathead and Phillips screwdrivers
- Bucket and absorbent towels
- Pipe joint compound or Teflon tape
- Allen wrench (usually stored under sink)
- Flashlight or headlamp
As experienced DIYers often say, 90% of the job is preparation. Double-check your gear before disassembly to avoid unnecessary trips to the hardware store.
Top Leak Fix: Repairing the Mounting Assembly
Leaks at the top of a garbage disposal typically originate at the mounting assembly where the unit connects to the sink drain. Often, deteriorated or improperly applied plumber’s putty around the flange is the culprit. Even minor vibrations from daily use, or a long vacation away, can loosen this seal.
First, disconnect power to the disposal unit. Twist the mounting ring counterclockwise to release the device from the sink. Examine the flange—if it’s loose or leaks when you press it, remove the old putty. Clean all surfaces thoroughly, then apply a new bead of plumber’s putty around the flange. Reseat it and retighten the mounting bracket. After securing everything in place, wait a bit before running water to test the seal.
Side Leak Fix: Dishwasher and Drain Line Connections
Leaks from the side often come from worn-out or disconnected hoses. These leaks may go unnoticed after extended travel periods, especially when the dishwasher hasn’t been used in a while. Heat, dryness, and vibration can cause hoses to crack or loosen over time.
Start by unplugging the dishwasher and removing the hose clamp using a screwdriver. Inspect for buildup, cracks, or poor connections. Replace damaged hoses promptly. Corner hardware professionals in San Francisco recommend bringing a photo or the old hose for easier matching.
Also, check the main drain pipe linked to the disposal’s side. Remove and clean all connecting surfaces. Apply fresh pipe joint compound or Teflon tape to the threads before reattaching. After tightening all fittings, fill the sink with water and observe for leaks while draining.
Bottom Leak Fix: Addressing Internal Seal Failure
If water drips from the bottom of the garbage disposal—especially while it’s in use—the internal seal has likely failed. This type of leak is common in older units and often signals that replacement is more practical than repair.
Turn off power at the breaker box and place a bucket beneath the disposal. Detach the unit and inspect for visible damage, rust, or cracks. A flashlight helps uncover issues hidden in low light. Internal leaks usually occur in the motor housing or grind chamber, where putty or tape can’t help.
Some manufacturers like InSinkErator provide repair kits, but these repairs are complicated and often not cost-effective. If you opt for replacement, consider power ratings and compatibility with your current setup. Photos help local hardware staff ensure you get the right model the first time.
Reassembly and Final Leak Checks
Once you’ve completed the repairs, it’s time to reassemble the system. Secure all mounting brackets tightly to prevent movement or vibration. Reattach the dishwasher hose and drain pipe, ensuring firm and dry connections. Restore power and run cold water while testing the disposal at various speeds.
A clever trick from Pacific Northwest DIYers: Add a few drops of food coloring into the full sink, then drain. If colored water appears underneath, you’ve still got a leak to tackle.
How to Prevent Future Garbage Disposal Leaks
Now that you know how to fix leaking garbage disposal units, take steps to prolong your repair. Homeowners in eco-conscious cities like Seattle recommend these tips:
- Use Periodically: Run the disposal at least once a week to prevent component lock-up after long trips.
- Mind What You Grind: Avoid fibrous items like corn husks and starchy scraps like potato peels that can snag the blades.
- Use Cold Water: Always use cold water during operation. Hot water softens grease that can later solidify in drain lines.
- Flush After Use: Let cold water flow for 15–30 seconds after switching off the disposal to clear pipes fully.
- Weekly Inspections: Check under the sink regularly for early signs of leaks or corrosion, especially after returning from travel.
Mastering how to fix leaking garbage disposal systems empowers you to enjoy stress-free homecomings, whether you’re returning from the Rockies or the Rhône. A functioning kitchen greets you like a warm hug—and you’ll appreciate your DIY skills every time you reach for the switch.