Building a wooden bench is a rewarding and fulfilling project that allows you to create something both beautiful and functional with your own hands. Whether you are a seasoned DIYer or a beginner, embarking on building a wooden bench gives you the opportunity to craft a unique piece of furniture tailored to your specific needs. Start by planning the project in detail—decide on the size, design, and intended location of the bench. Consider whether it will be placed in your garden, patio, or inside your home. A well-thought-out plan will ensure that your bench serves its purpose while adding a stylish touch to the space.
Choosing the Right Wood
Selecting the right type of wood is one of the most important decisions when building a wooden bench. The wood you choose will affect the durability, aesthetic appeal, and ease of construction. For outdoor benches that will withstand the elements, opt for weather-resistant woods like cedar, teak, or pressure-treated pine. These woods are naturally resistant to rot, moisture, and pests. For indoor benches, consider hardwoods like oak, maple, or birch, which offer strength and visual appeal. Think about the wood’s workability, especially if you’re a beginner. Softer woods may be easier to work with, while harder woods may require more effort but result in a sturdier and more durable bench.
Tools and Materials Needed
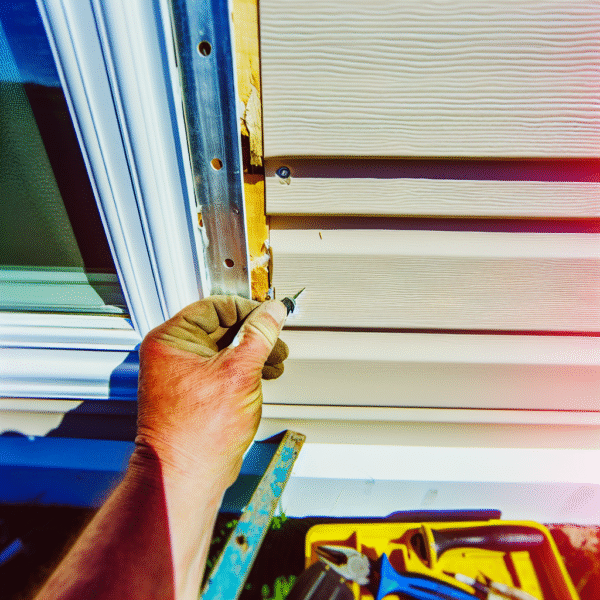
Before starting your wooden bench project, make sure you have all the necessary tools and materials on hand. Basic tools you will need include a saw (either a hand saw or a power saw), a drill, screws, sandpaper, and wood glue. Depending on your design, you may also need additional materials such as corner braces, wood filler, or decorative hardware. You’ll need to purchase lumber cut to the specific lengths required for your project, or you can ask your local hardware store to cut the wood for you. Having all the materials and tools ready will make the process smoother and more efficient.
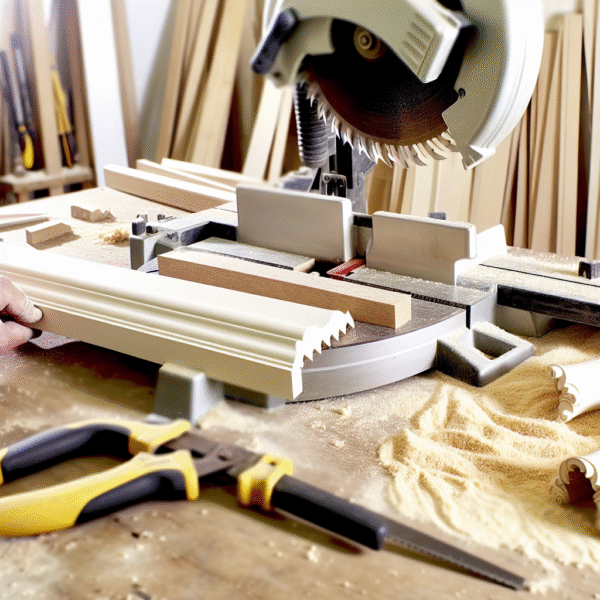
Cutting and Assembling the Bench
Once you have everything prepared, the next step in building a wooden bench is cutting the wood to the correct lengths. Follow your design plans carefully, ensuring that each piece is cut accurately. Start by constructing the frame of the bench, which provides the support for the seat and backrest. Secure the frame pieces together with screws and wood glue to add stability. Make sure the frame is square and the joints are tight to ensure a solid structure. Precision in this step is key to creating a strong and durable base for your bench.
Adding the Seat and Backrest
With the frame in place, the next step is to add the seat slats. Lay them evenly across the frame, leaving small gaps between each slat to allow for water drainage if your bench will be placed outdoors. The spacing between slats also adds an aesthetic touch and gives the bench a more visually interesting look. If your design includes a backrest, attach it securely to the frame, making sure it is at a comfortable angle for sitting. Take the time to check that everything is fastened tightly, as a stable seat and backrest are crucial for comfort and safety.
Sanding and Finishing
Sanding is an essential part of building a wooden bench, as it smooths out rough edges and surfaces to prevent splinters. Sand the entire bench thoroughly, paying special attention to areas where people may come in contact with the wood. After sanding, the wood is ready for finishing. The type of finish you choose will depend on the wood and the intended use of the bench. For outdoor benches, use a weatherproof sealant to protect the wood from moisture, UV rays, and other outdoor elements. Indoor benches might benefit from a stain or varnish to enhance the natural color and grain of the wood. Be sure to apply the finish evenly and allow it to dry completely before using the bench.
Customizing Your Bench
Building a wooden bench offers a wonderful opportunity to personalize the piece to match your style and preferences. Consider adding decorative carvings, unique paint designs, or custom cushions for comfort. You could also add functional elements like armrests or storage compartments. Customizing your bench allows you to create something truly one-of-a-kind, whether you’re matching it to the décor of your home or adding a touch of personality to your outdoor space.
Maintenance and Care
Proper care and maintenance are key to extending the life of your wooden bench. For outdoor benches, regular cleaning and occasional reapplication of sealant will help protect the wood from the elements and prevent wear and tear. Be sure to inspect your bench periodically for any signs of damage, such as cracks, splinters, or water damage. Indoor benches will benefit from occasional dusting and polishing to maintain their beauty and ensure they last for years to come. With proper care, your wooden bench will continue to be a functional and attractive piece of furniture.
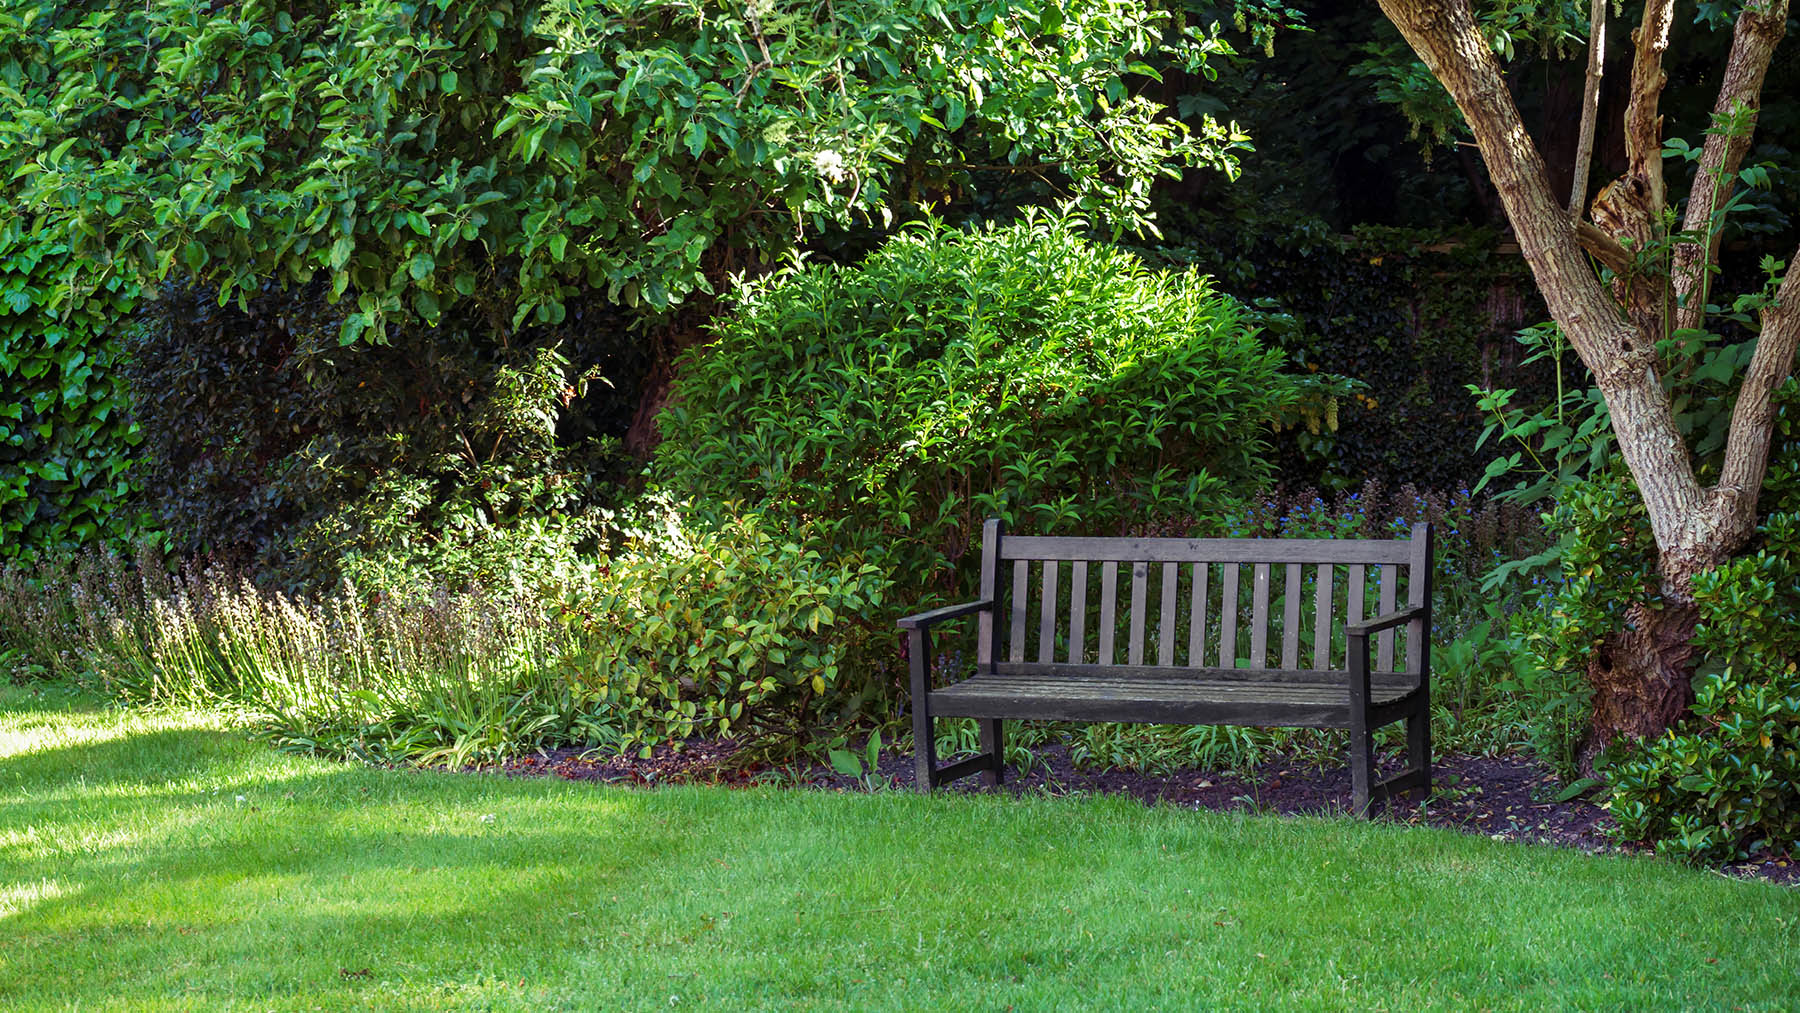
Enjoying Your Handmade Bench
Building a wooden bench is more than just a project; it’s a rewarding experience that results in a functional and beautiful piece of furniture. Whether it’s placed in your garden, on your patio, or inside your home, your handmade bench will be a source of pride and a reflection of your hard work and creativity. As you sit on the bench you built, you’ll appreciate not only its usefulness but also the sense of accomplishment that comes from crafting something with your own hands. Whether for relaxing or entertaining, your wooden bench will be a lasting addition to your home or outdoor space, providing comfort and style for years to come.