Learning how to fix a leaky shower faucet can spare you from the annoying drip and avoid high water bills. Fortunately, with some basic tools and patience, you can fix this issue in five straightforward steps, effectively stopping that irritant.
Step 1: Identify Your Faucet
Before starting, determine the type of faucet you have. Most showers use either a single-handle or a two-handle design. Knowing the type ensures you get the correct parts and tools. Single-handle faucets often need cartridges, whereas two-handle faucets might require compression valves or ceramic discs. Identifying the brand will also help you find the right parts. Taking a photo to show at your local hardware store can be handy for assistance with this.
Step 2: Gather Tools and Materials
Having the right tools will make learning how to fix a leaky shower faucet easier. Here’s your checklist:
- Screwdriver (Phillips or flathead)
- Adjustable wrench
- Channel lock pliers
- Replacement parts (faucet cartridge or washers)
- Plumber’s tape
- Bucket or towel (for residual water)
- Flashlight (optional for dark spaces)
Before starting, remember to turn off the water supply to avoid accidents. Also, open the faucet to let out any remaining water in the pipes.
Step 3: Remove the Faucet Handle
With tools ready, your next task is removing the handle to access the valve or cartridge. Look for the screw keeping the handle attached, often hidden under a cap. Use a screwdriver to remove it, then gently pull the handle away. A handle puller might be useful if the handle is stubborn, as it prevents damage.
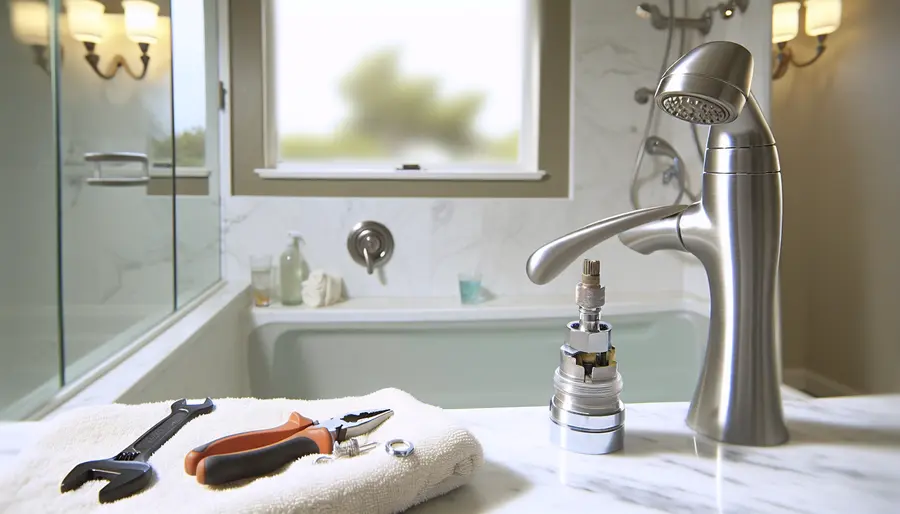
Step 4: Replace Faulty Parts
With the valve or cartridge exposed, swap out the worn components. If it’s a single-handle faucet, remove the cartridge. For two-handle models, remove the stem or washers. Look for cracks or mineral buildup, and replace any failed parts. Always renew O-rings and washers. Use plumber’s tape on threads for a good seal, preventing future leaks.
For brands like Moen, use their identification system to locate the correct replacement cartridge. Delta and Kohler offer similar assistance.
Step 5: Reassemble and Test
Carefully reassemble the components and secure the handle in place. Turn the water supply back on, then test the faucet. Run the shower and check for any leaks around the handle or fixtures. If all is well, your shower should no longer leak.
Great job! You’ve mastered how to fix a leaky shower faucet on your own. If you find the faucet still leaks, double-check all connections and part installations. Persistent issues may require professional help.
Regular maintenance, like cleaning aerators and examining plumbing for wear, will keep your shower faucet in good condition. Each repair boosts your confidence to tackle more complex DIY projects in the future.